How to: plant out container grown plants

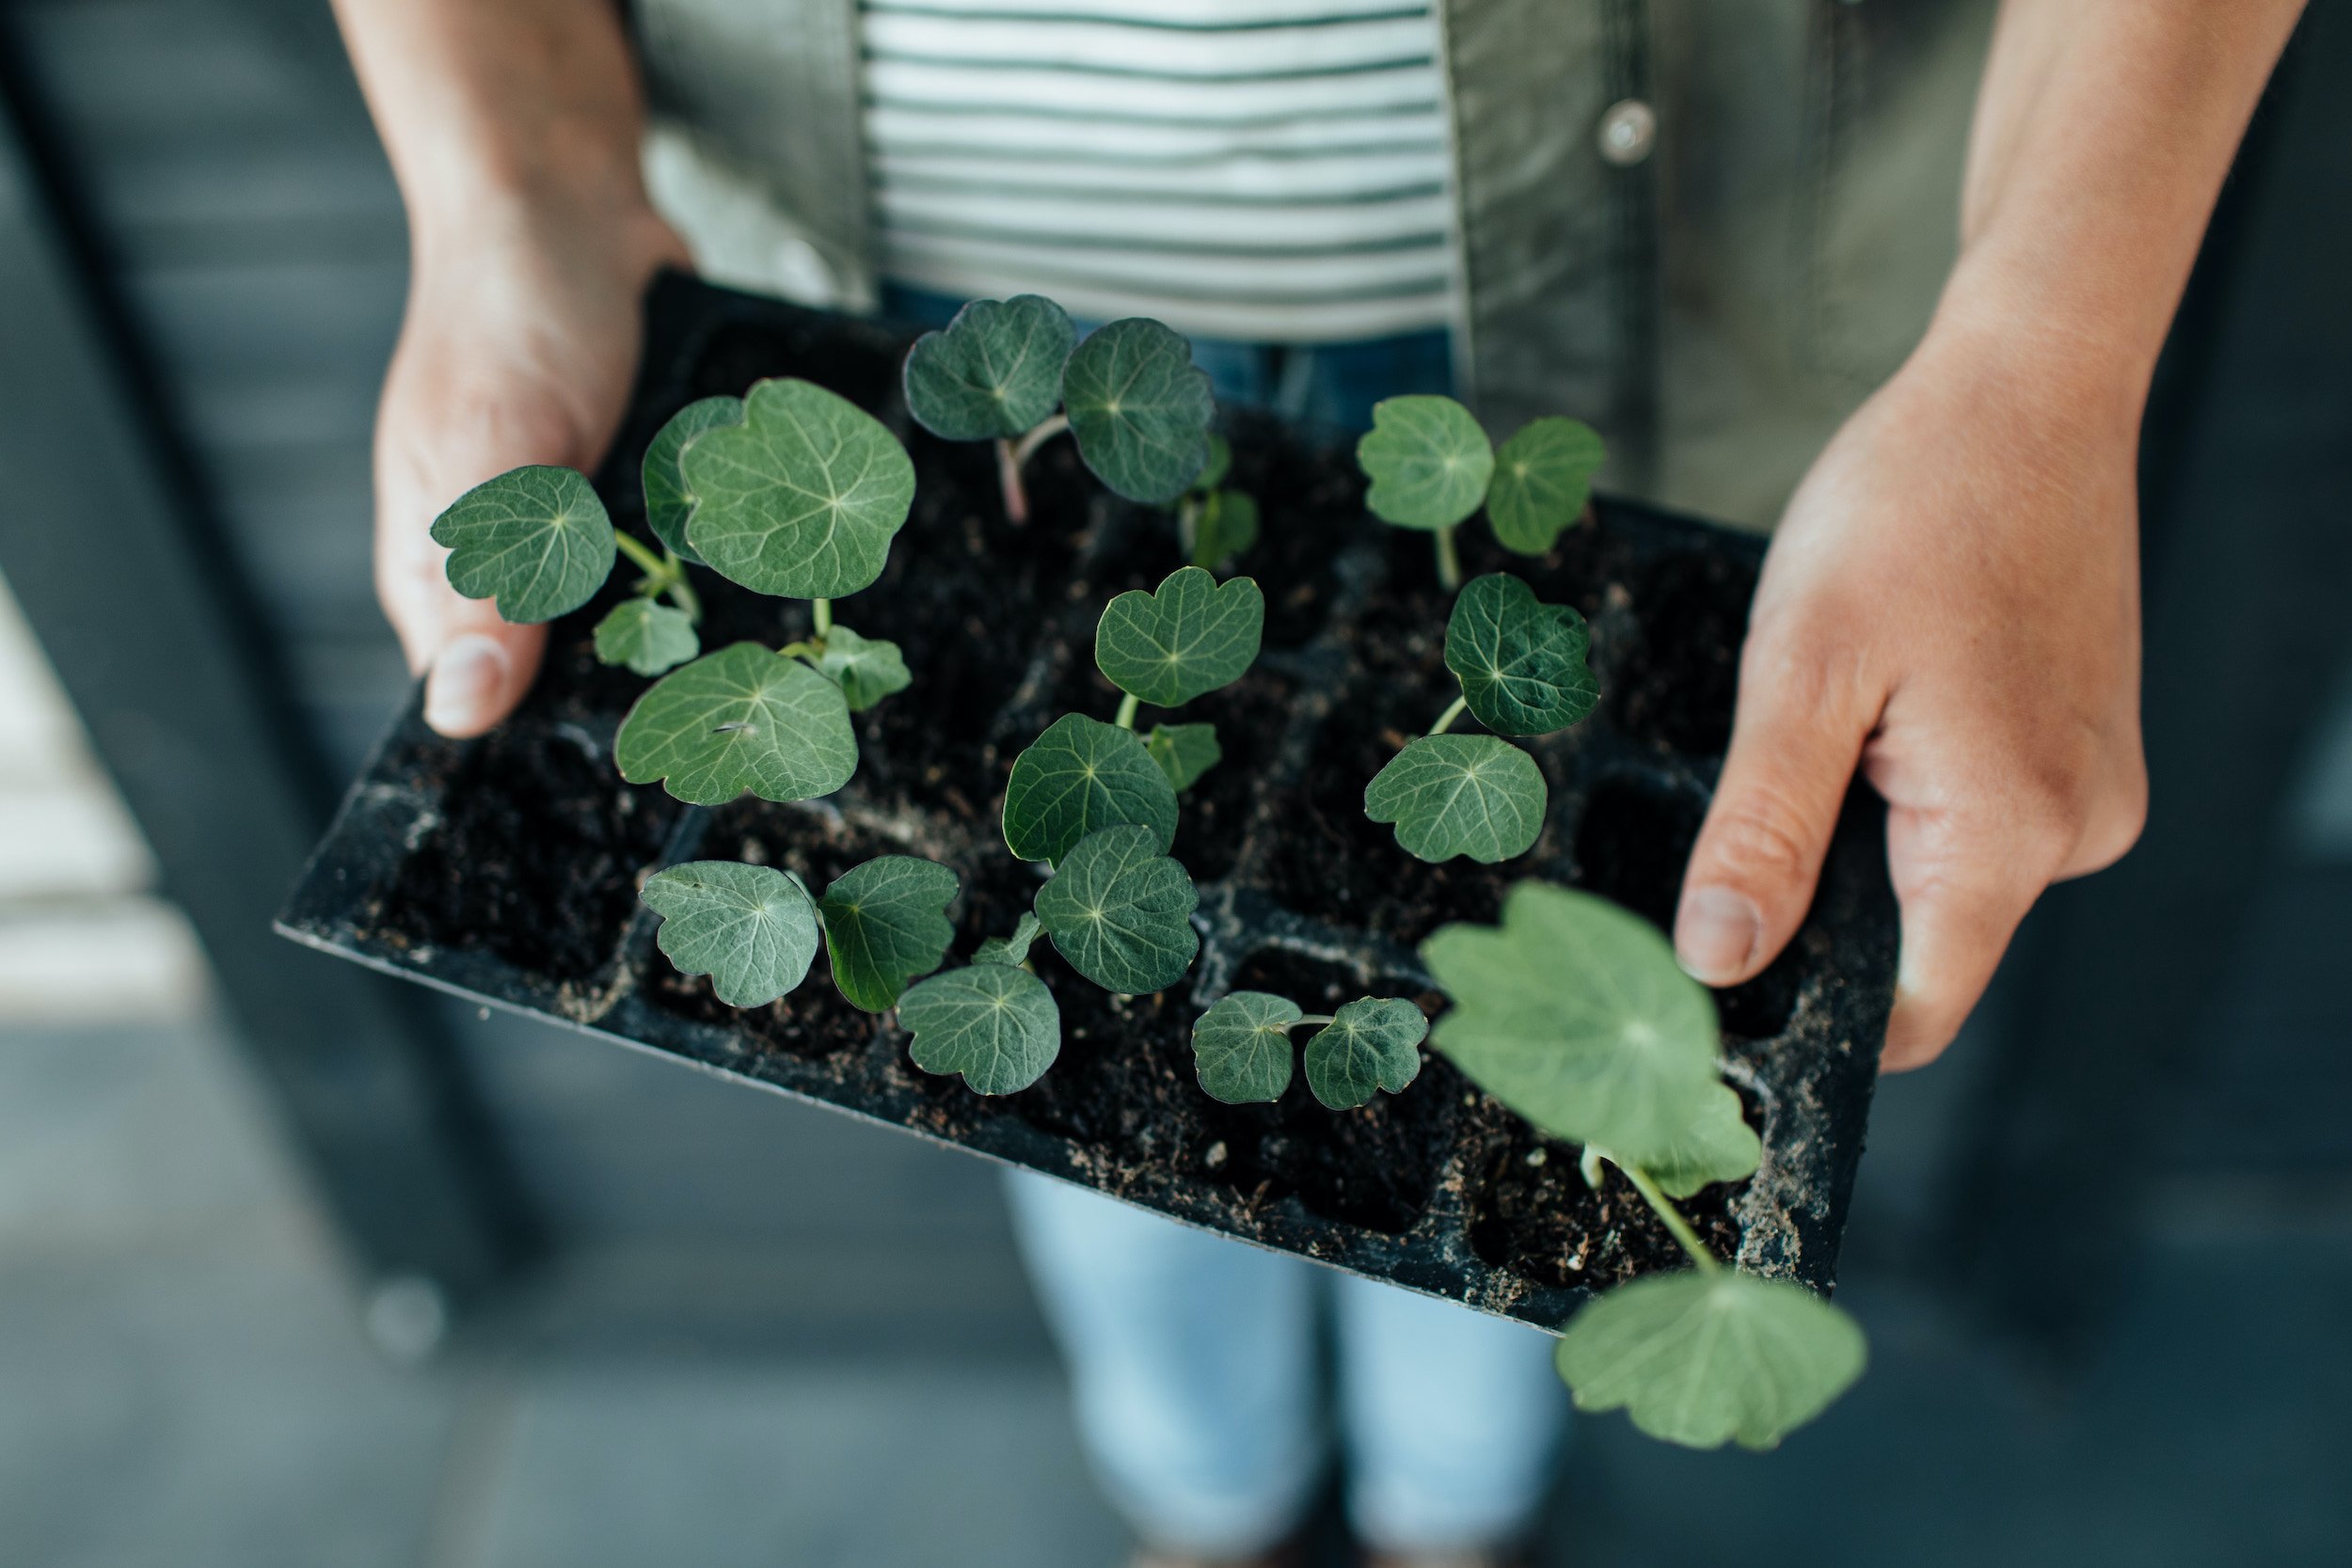
When we’re adding new plants to the garden, one of the most common ways of doing this is by planting out container grown plants.
Plants grown in pots tend to be healthy, mature and happy to quickly establish in their new positions. But there are a few tips you can follow when you plant them to make sure they have the best possible start to settling in to their new home.
Choosing when to plant
Though it’s possible to plant out at any time of year, as long as the ground isn’t frozen or waterlogged, the best times of year for planting are Spring and Autumn. This is because the soil tends to be a reasonable temperature (in Winter it can be very cold, which gives the roots an unpleasant shock) and to have a good amount of water in it, topped up by fairly frequent rainfall (in Summer months the soil is usually much drier, so freshly planted additions would need a lot more watering.) If planting in Autumn, the following months tend to see good rainfall, so you don’t need to water as much. Many plants also go dormant for the winter months, which gives the roots time to get established and the plant to bed in well before it needs to use energy for growth and flowering or fruiting. If you’re planting in the Spring, you have plants in place ready to look good for the warm months, however do remember you will need to water the plants very well over the next season when there is less rain. Plants are also in active growth immediately and may also be flowering and fruiting, so they need more attention for their first season in the ground when they’re expending lots of energy.
If you’re planting in the warmer months, pick a cooler time of day (in the morning or evening for example) so plants don’t get stressed by heat and water loss while you’re handling them.
It’s usually recommended to plant flowering plants at a time when they’re not in flower, as they can use energy to grow their roots and bed in, rather than produce flowers. However, that’s not always possible (and sometimes you just see an amazing plant in flower at a nursery and simply have to have it!) so if you are planting out when a plant is in flower remember to water it very well over the next few weeks and months and check it frequently.
How to plant: watering and setting out
First of all, check all of the pots you’re going to plant out. Everything should be well-watered before going into the ground (especially important if you’re planting in hotter months) so that the area immediately around the rootball starts off moist. Water the pots with a hose, or if any are especially dry, you can dunk the whole pot into a bucket of water, and hold underneath until the bubbles stop. This ensures everything is well soaked.
Next step is to “set out” your plant or plants where you would like them to go. This simply means putting the pots into the positions in the garden that you’re planning on placing them. To choose the right spot, check on the plant’s needs: does it want full sunlight, part shade or full shade, does it need to be sheltered, does it need good air circulation etc. Also check on its final height – as a general rule, place taller plants at the backs of beds, medium plants in the middle and small, low-growing plants at the front. You can also make sure the plant looks good alongside its neighbours – do the leaves work well together? are the colours complimentary (or intentionally contrasting)? and so on. A final element to consider, if this is a flowering plant, is the time of year that it will flower, and what will be in flower around it at the same time. Once you’ve chosen the spot, take a step back, have a look and make sure it works as well in the garden as it did in your head!
Once the plants are all set out, you can begin to plant them into position. If you’re planting more than one at a time, it’s easiest to start at the back and work your way forwards, and go from one side of the border to the other. This way you have less chance of trampling any freshly planted beauties while you’re putting other plants in position.
Remove the plant from the pot by squeezing the plastic
Planting

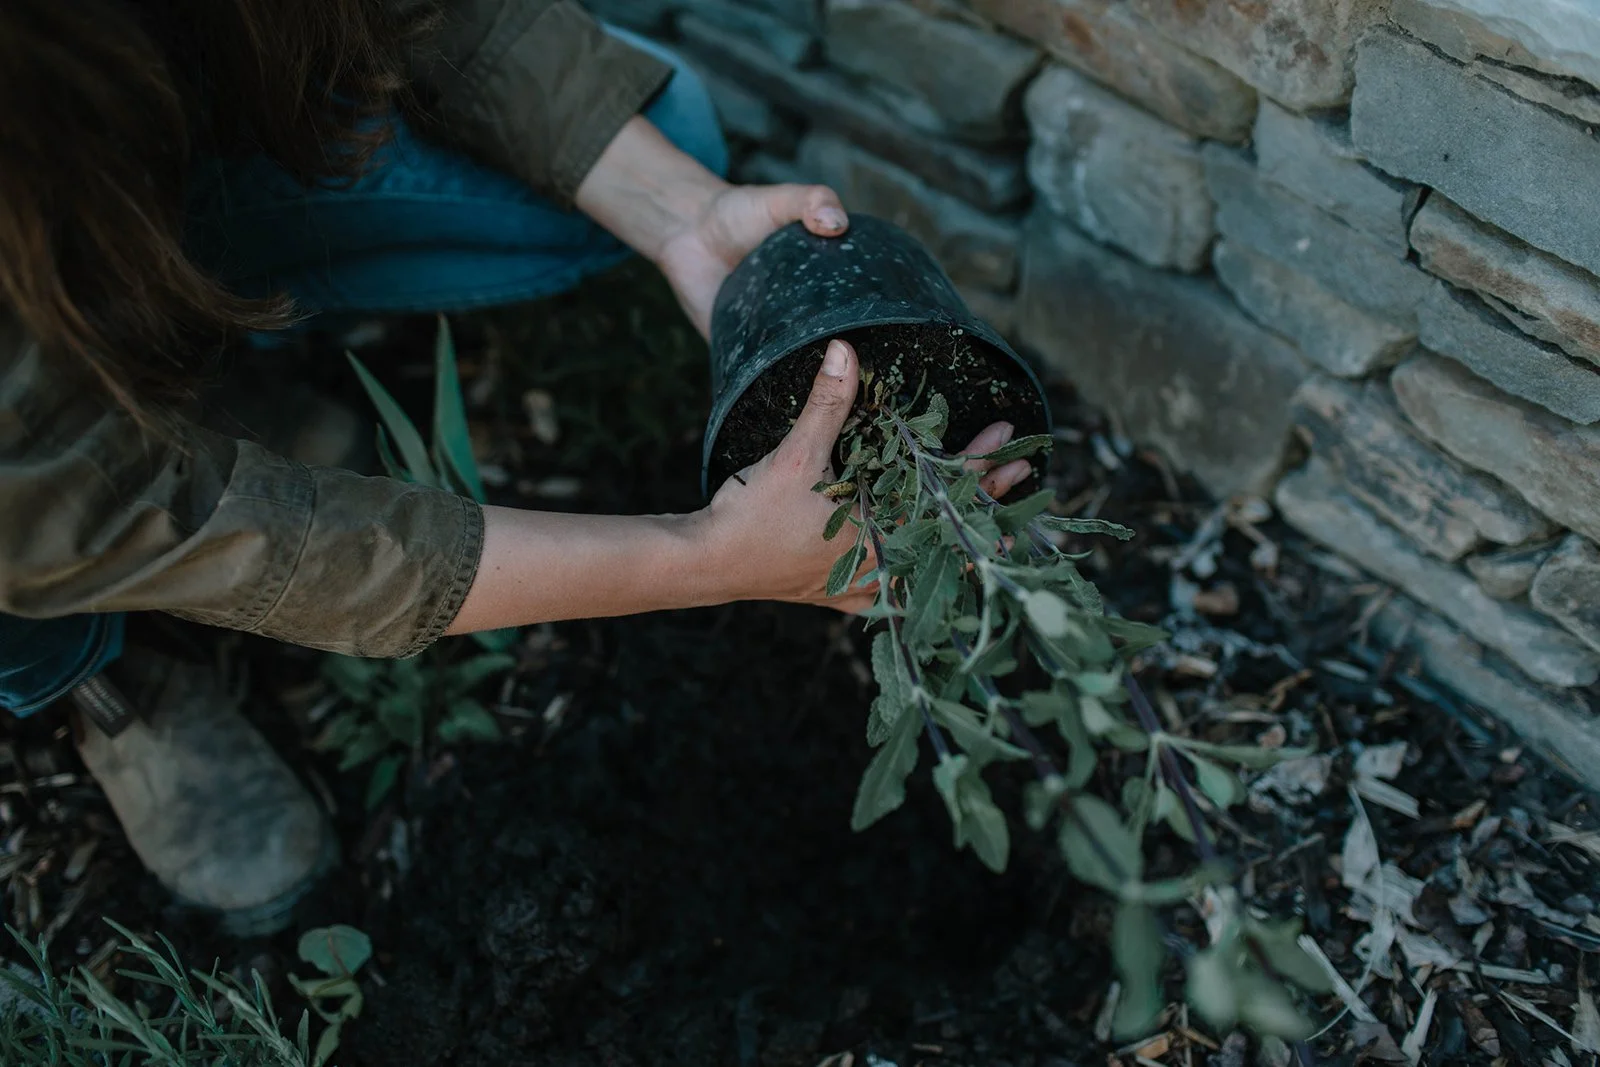
Remove the pot from the position you want to plant it and dig a hole, approximately the depth of the pot and twice as wide. Put the soil to one side. If it has large chunks, break them up a little bit, either with your hands or with a fork or trowel. Place the pot back into the hole and check the position. The level of the compost in the pot should be level with the surrounding soil, so that the plant’s stem remains at the same height it was in the pot. Make any adjustments either by digging a little deeper, or adding some soil back in to the hole.
Once the positioning is correct, gently squeeze the sides of the pot to help release the compost and then remove the plant’s roots and the surrounding compost. A good way to do this is to place one hand on the top of the compost, with your fingers spread out around the stem, and use the other hand to turn the pot upside down and gently tap the bottom to release.
At this point, check over the plant’s roots to make sure everything looks healthy. You can check for any pests and make sure the roots are growing well. Check for vine weevil grubs (a small white larva with a brown head, that loves to live in the soil and eat roots of certain plants) — these can often be found in nursery grown pots, so a quick search, removing any grubs you might find, is very useful. Check on the condition of the plant roots too — do they look healthy? Are they growing well? Are any rotten? Cut off any rotten roots, and gently tease apart anything that is looking potbound: where roots have started to growing around in a circle within the pot. Pull apart so that the roots will grow outwards into the soil, rather than continue to grow into each other. If any roots are very potbound (you’ll notice this happening if the plant is very stuck in the pot, and once removed is mostly roots and no compost) then slashing across the bottom and sides will help to encourage new roots to grow outwards.
Place in the hole and turn the plant so it’s facing the direction you’d like it to (this is especially important for woody plants and shrubs which have a distinctive framework). Holding the plant in place with one hand, use the other to backfill the hole with the soil that you had removed, and firm it into place.
Water well, making sure the freshly planted area is completely soaked.

Ongoing care
While plants first get established in their new position, and push out roots into the surrounding soil, it’s really important to keep them well watered. Depending on the size and type of a plant, you’ll need to check plants and water them for at least six weeks, up to 18 months for freshly planted trees.
Once you’ve watered well, add a layer of mulch around the plant. This will help to keep water in the soil, as well as suppress weed growth. Take a look at our guide on how to mulch for everything you need to know about mulching!
Keep the areas around new plants well-weeded, to minimise competition for water, light and nutrients. Again, this is especially important while plants first get established in new positions.