How to sow seeds
Sowing seeds is often one of the first introductions we get to gardening… Cress seeds sprinkled onto egg shells at nursery; broad beans sprouting on nothing but damp kitchen roll in the classroom window sill; sunflower races in the garden to see whose plants will grow the tallest over the course of the summer. Children are always amazed that an entire plant can grow from such a tiny beginning and, quite frankly, we’ve never quite got over that wonder either…
Whatever age we are, sowing from seeds is one of the most satisfying (and certainly cheapest) ways to add plants to the garden. Given the right conditions, and a bit of care and attention, you can turn a packet of seeds into plug plants ready for the garden in just a couple of months. Not to mention all of the wonderful annuals that we wouldn’t be without, and which need planting fresh each year: sweet peas, cosmos, and zinnias, just to mention a few.
It’s a pretty straightforward process, but it does vary a little on the type of seed, and there are a few tips to bear in mind to keep your seedlings turning into healthy, robust plants.

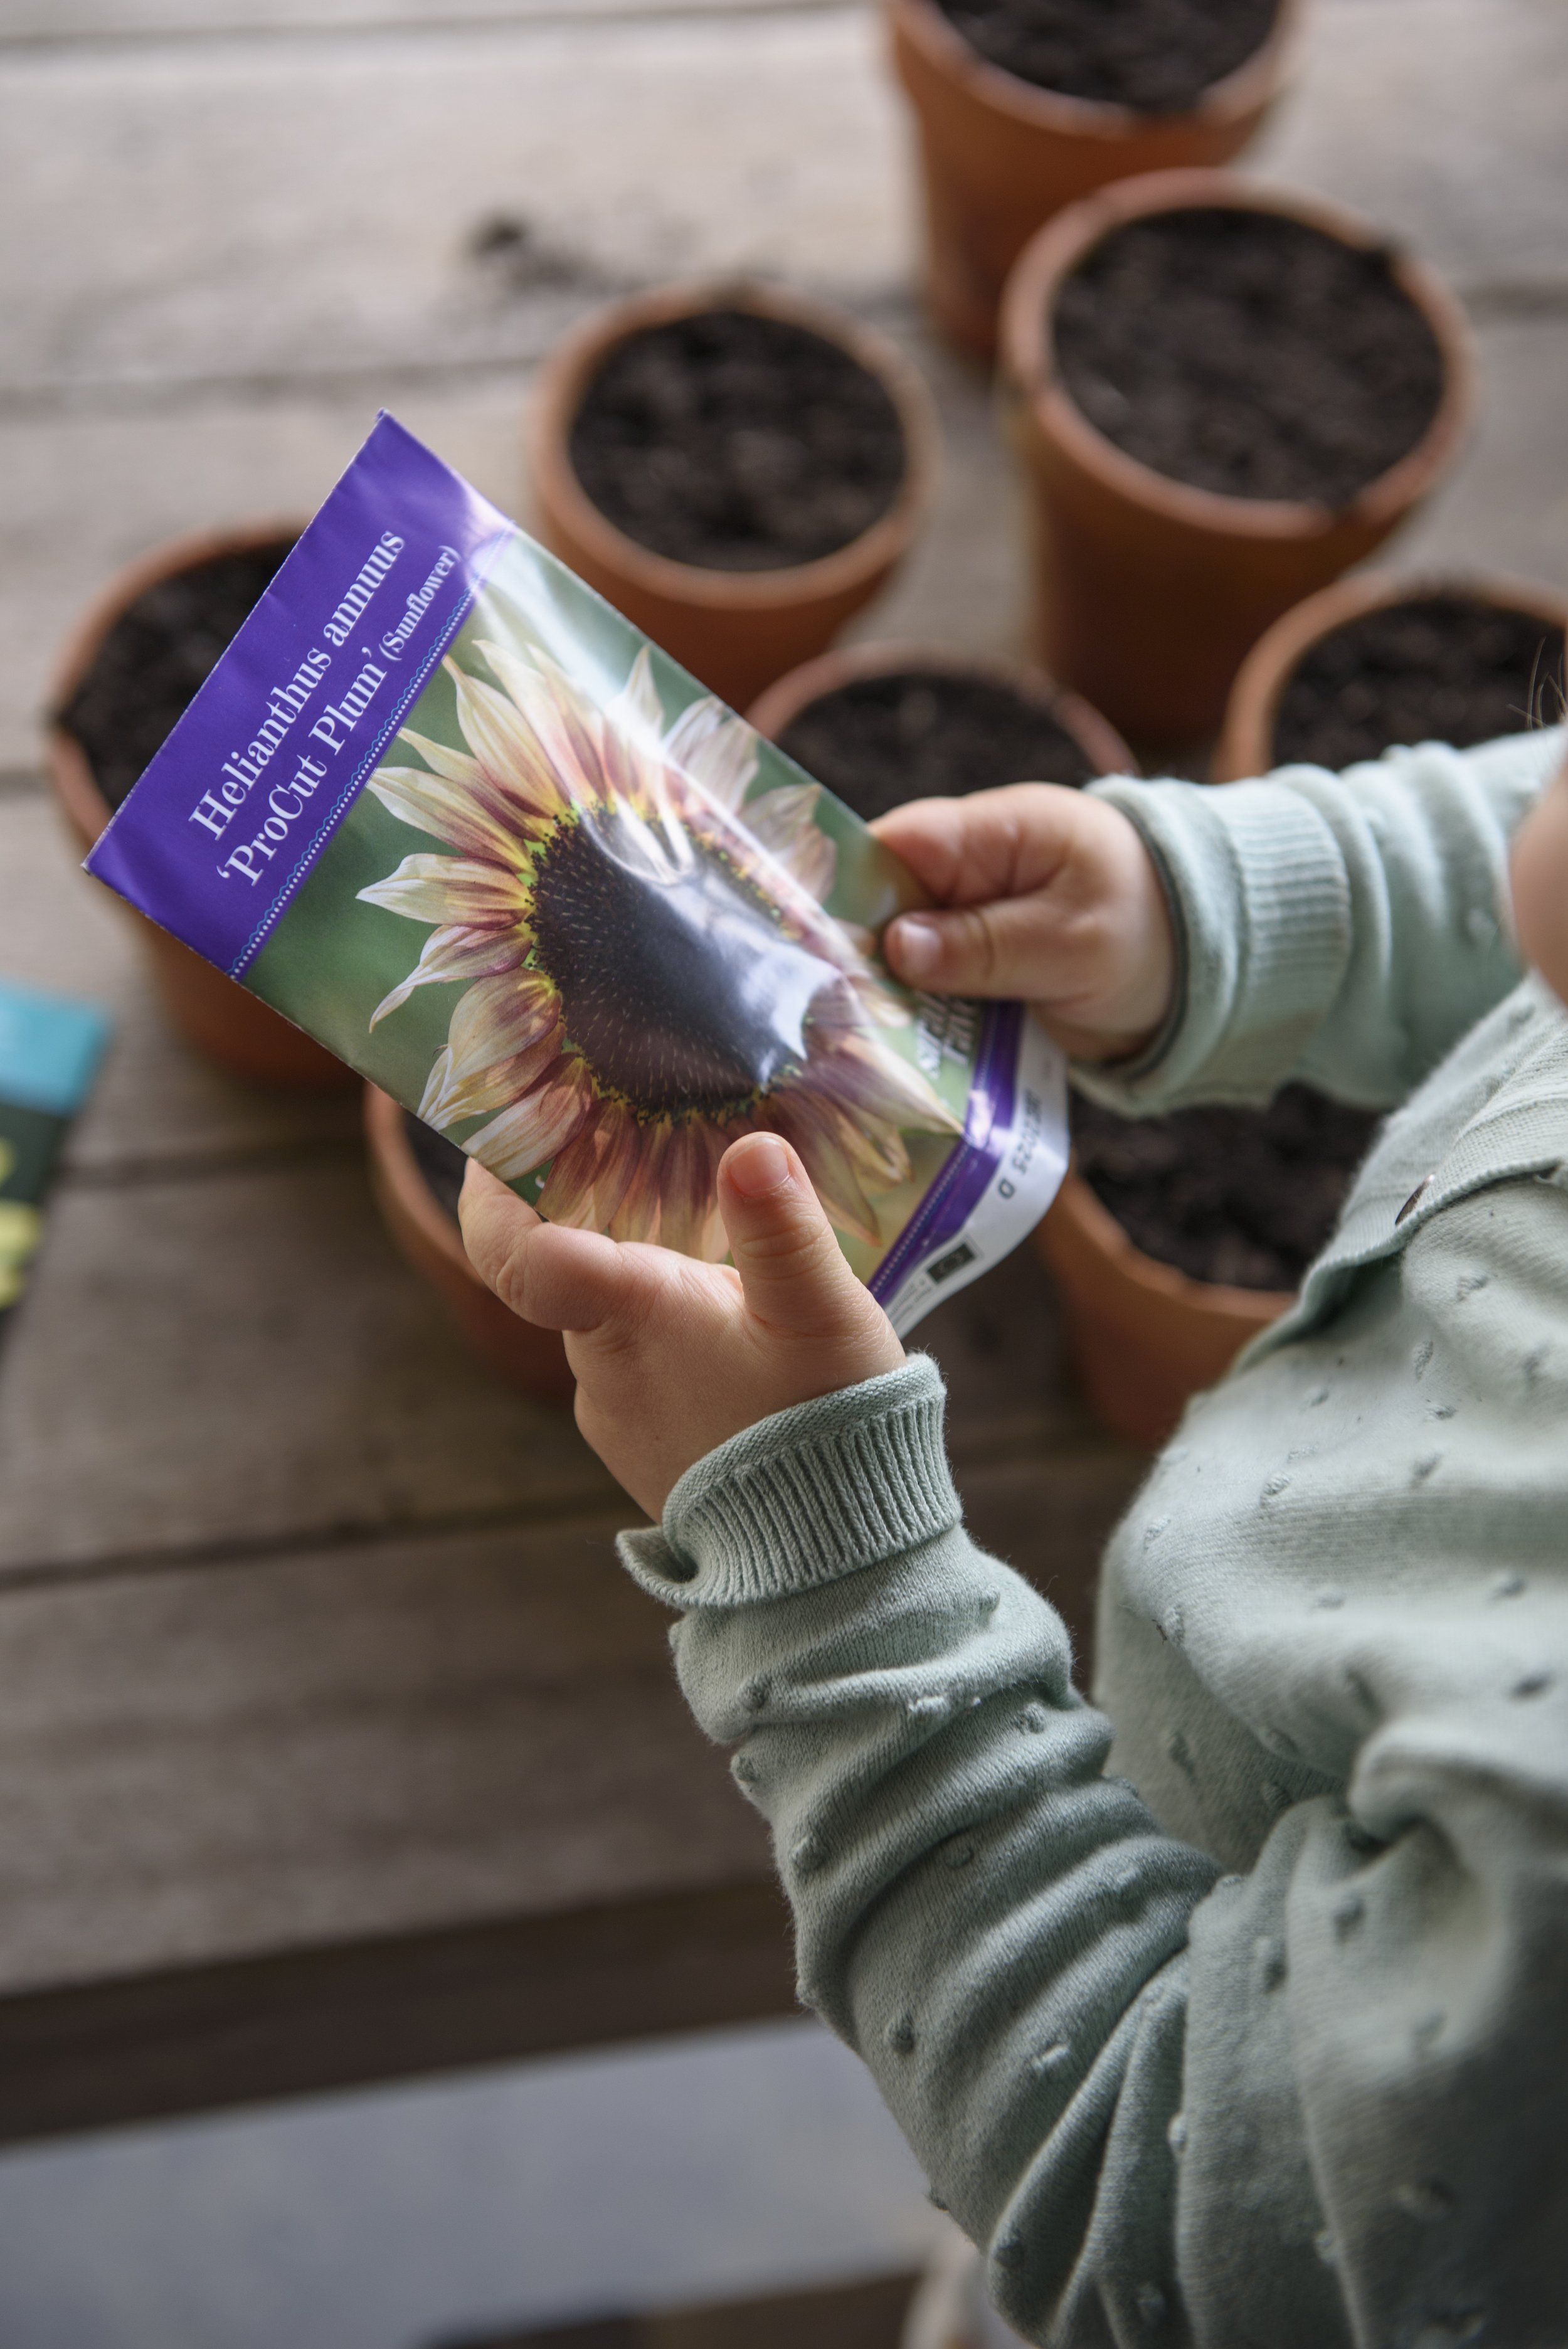
Sowing seeds with children is a great way to get kids into gardening
How to sow seeds
Seed size varies quite enormously from the miniscule, sand-like seeds of foxgloves, to the huge broad beans, with everything else in between. How best to sow the seed depends on the size of the seed, with slightly different methods working better according to the size.
Small seeds
If you’re sowing fine seeds (for example, foxgloves, aquilegias and poppies), they are too small to handle individually. It’s usually easiest to sow them into open seed trays, without compartments, so that you can get an even spread across the surface.
Fill your seed tray with seed compost, all the way to the top. Make sure to fill out the corners, as they tend to dip down more. Gently tap the tray a couple of times onto the counter to help the compost settle. (You can get specially designed “compost tampers” to do this job, or even make one yourself if you’re feeling DIY-enthusiastic. It’s basically a flat bit of wood with a handle attached – either in a rectangular shape for seed trays or a circular shape for pots. But unless you’re planning on sowing lots and lots of seeds all at once, it probably won’t make your life that much easier than just tapping the tray a few times…) You want the compost to be firm and without any huge air holes, but not compacted.
Water the compost with a fine hose attached to the end of your watering can – you need a fine end so that large water droplets don’t make big pits in your freshly patted compost…
It’s now time to add the seeds. Open the seed packet carefully, to make sure the seeds don’t fly away. Tiny seeds often tend to get stuck onto the inside of the packet, especially in the corners, so it can help to tear the packet fully open, and then carefully wipe any stuck seeds out with a finger.
Check the recommended spacing on your seed packet. One packet of fine seeds may well be enough to fill two or more trays…
You want to aim for an even spread across the seed tray – again, you might need to take extra care to get them into the corners. There are lots of different methods of doing this, but the easiest way, we find, is to pour all the seeds out into the palm of your hand and then take a pinch with your other hand and shake them gently and slowly over the tray. (Similar to sprinkling sea salt over food!) Watch out for any breezes which could whip the seeds away, or accidentally dumping them all in a big spot in the middle of the tray. (We’ve all done it before! If it does happen, just gently spread them around as much as you can…)
Some seeds might need a thin layer of compost sieved on top, others might need to be left open to the light, and others might like a thin layer of vermiculite on top. Check the seed packet, which should give the details for your particular plant.
Label and date the seed tray, so you know what is in there and when you sowed it. Plant labels are great for this, but you can also just cut up clear or white plastic waste and write on them with a sharpie. Milk bottles and yoghurt pots are particularly good.
Keep the seed tray in a sheltered spot, most fine seed is usually sown indoors, before being moved outside. A greenhouse is ideal, or a sunny windowsill.
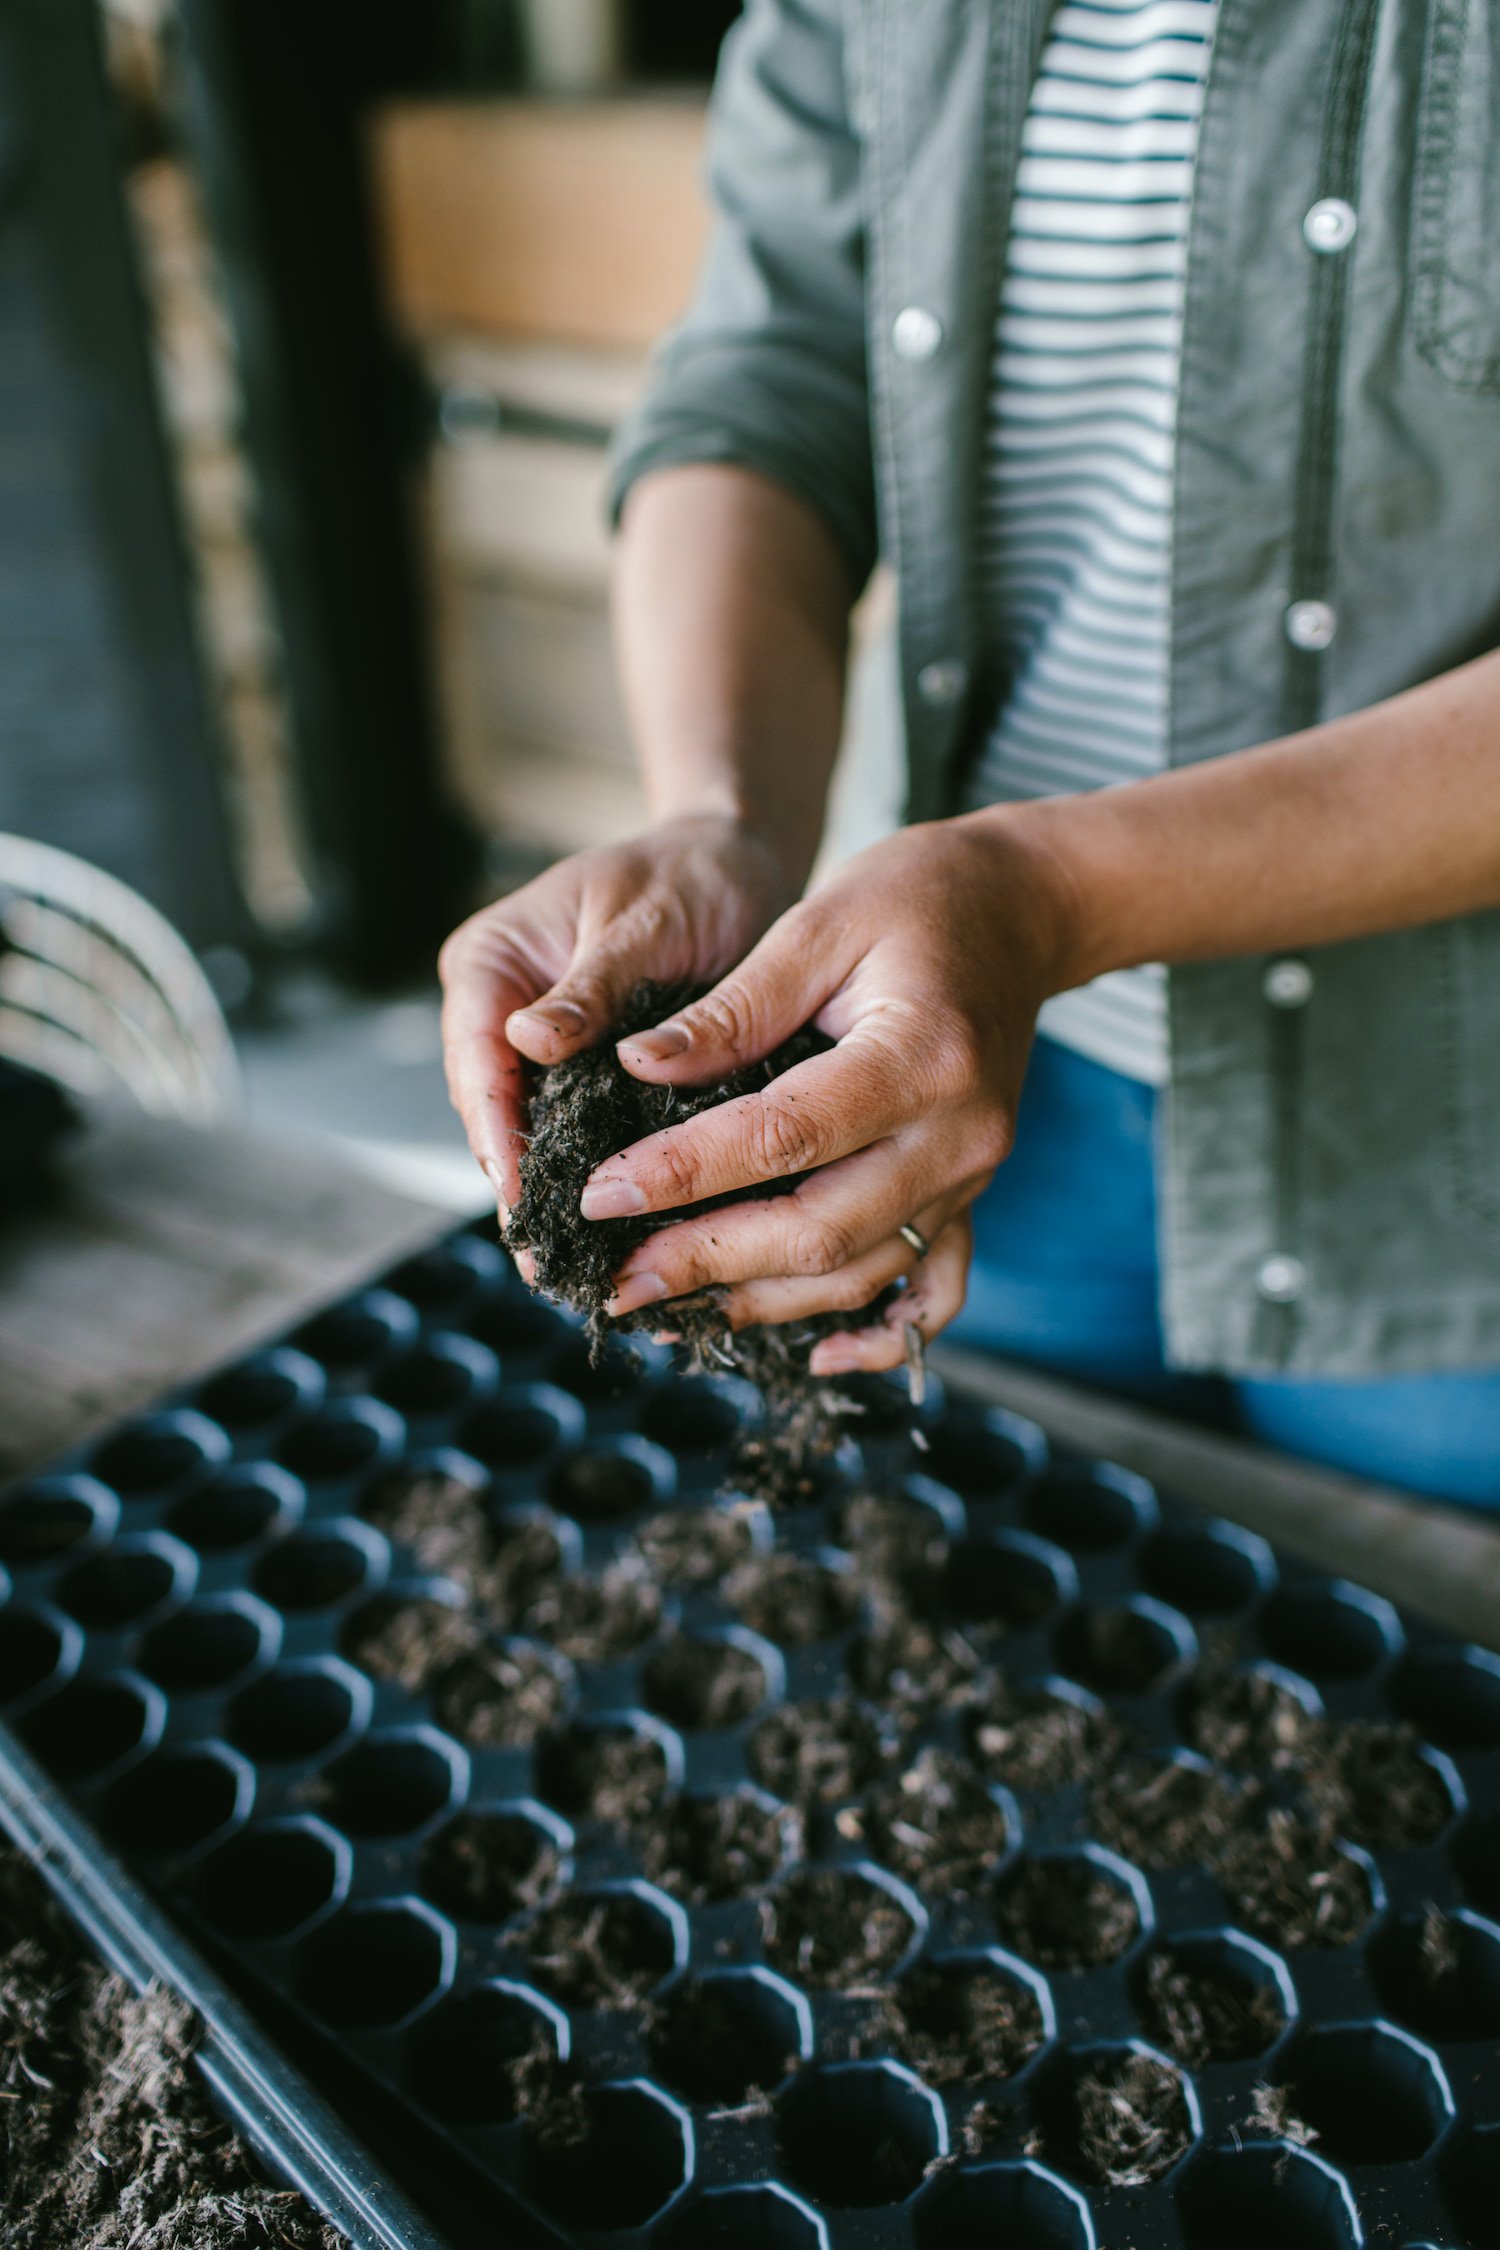
Filling seed trays with compost
Check on the seed compost and water if it is starting to dry out. As seeds germinate, they need to come into contact with moist compost in order to grow successfully, so it’s especially important at these beginning stages to water regularly.
Each plant will have a different length of time before its seed germinates. Your seed packet again should give you a rough estimate. As you see the seedlings start to emerge, keep watering regularly and check that none of them are overcrowded. Poor air circulation can be a cause of the dreaded “damping off disease” – when healthy seedlings all suddenly keel over and die. If there seems to be an area where they are too tightly packed, you might want to gently pull a few out to thin that space.
Once most of the seedlings have a set of “true” leaves, they are ready to prick out. The leaves that first appear when a seedling germinates are called “cotyledons” or seed leaves and the don’t look like the usual leaves for that plant. They emerge first, ready to start photosynthesising and providing the plant with some energy. The second set of leaves to appear are the “true” leaves, and these will look like the leaves the plant will continue to have. So once you see these appear, it’s time to prick out the seedlings, moving them into a spot with more space for their roots to establish. (Read more about this in our guide to pricking out and potting on seedlings.)
It’s important to prick seedlings out as soon as you are able to, so they have enough space, both for air circulation (see damping off, above!) and for their roots and stems to grow. If you leave it a bit too long, the roots can often get intertwined and the seedlings can start to grow leggy, or “etiolated” as they compete with their neighbours, growing upwards towards the light. If this does happen, just take extra care to gently disentangle the roots when you prick out, and plant the seedling deeper into the compost in its new positions – right up to the first set of leaves.
Medium seeds
Medium sized seeds are big enough to handle individually, but not so large they need their own containers. Medium sized seeds include lots of the vegetables and annual flowers we usually grow, such as carrots, cosmos, scabious, zinnias, cornflowers and many, many more.
The way you choose to sow these seeds is really a matter of preference. You could still take the approach of the fine seed sowing – preparing an open seed tray and scattering them over the top. (See above, for all the details.) Or you could use a seed tray with compartments, or plugs, and individually place a couple of seeds in each plug. The first method is a lot quicker when it comes to sowing, but takes longer when pricking out. The second method takes more time when sowing, but when you prick out you can just remove the entire plug and place it into a bigger pot, rather than individually removing each seedling. You also usually need to move the plants on a little later, as they have a bit more space in the first place.
If you’re planting in a plug tray, fill the tray with compost, taking care to ensure that there is a similar amount in each individual compartment. You may need to gently push the compost down with your finger in each plug, as it can be harder to sprinkle it into place. Water well, as before.
We find the easiest way to position the seeds is to pour the packet out into one hand, and use the other hand to individually pick up the seeds with your fingers, placing two in each plug. Putting two in each compartment means that you should (hopefully) get at least one seedling growing in each spot, even though not every single seed will germinate. If both of them grow, you can select which the stronger looking plant is and weed out the weaker one. (This always feels a little brutal, but a strong, healthy seedling will turn into a strong healthy plant, whereas a weak one won’t ever manage to catch up and look as good!)
You can gently firm the seeds down, or push them a little under the soil if they need to be covered. Check the seed packet for details. Label and date the tray.
Place the seed tray in an appropriate spot and keep an eye on it over the next few weeks, watering to keep the compost permanently damp (though not soggy)…
Once the seedlings start to emerge, keep them well watered, and prick out once they have their first set of true leaves (see above).
Large seeds
Large seeds usually need to be sown into their own pots – think beans, sweet peas, courgettes, pumpkins. These are probably the easiest types of seeds to sow (perfect for getting kids to help out with!) as they’re not fiddly as the others can be.
Depending on the seed type, select an appropriate pot. Sweet peas are often sown into long root runners, with an especially large area for their roots to grow into. You can buy dedicated plastic ones, but toilet roll middles filled with compost can make a good alternative. Beans and courgettes could be sown directly into small pots, of around 9cm diameter. Or you could improvise, reusing small yoghurt pots, with a couple of holes stuck into the bottom with a biro, or even old cans with holes drilled in. (The only issue with using tin cans is it can be harder to remove the seedling once it has germinated, as you can’t squeeze it to release the compost, the same way you can with plastic…)
Whatever your container, fill it with compost to just below the brim, and gently pat down to firm it. Water so that the compost is evenly moist.
Most seeds need to be placed on their sides (unless, like sweet peas, they are round and have no sides!) Push into the soil vertically, to whatever depth is recommended on the seed packet. Different seeds need different depths of compost above them. As a general guide, the bigger seed, the deeper it should be placed. Pumpkins, for example, want to be sown about 3cm deep, courgettes to about 1.5cm deep, sweet peas about 1cm. Don’t worry too much about being completely accurate (there’s no need to measure!) – seed depths are just a guide and, on the whole, most seeds will just make the best of wherever you put them, even if it’s a little too deep or shallow.
Cover over the hole left by your finger with a little compost. Again, place in a spot with the right light levels and temperature for the seed you’re sowing. Keep an eye on them and water to keep the compost evenly moist while the seed is germinating.
Once the seeds have germinated, you can usually leave them for longer in the pot they are growing in, since they have more space and no competition, being planted on their own. Move them on once you start to see roots coming out of the bottom of the pot.

Direct sowing
Some seeds can be sown straight into their final position, without any need to first grow them in trays or pots, in protected places. This is known as “direct sowing” and is generally used for hardy annuals (those that can withstand frosts so can just be sown outside straight away, usually in March) and for certain veg, such as carrots or pumpkins.
If you’re sowing into the garden, the seeds are left to contend with all sorts of extra competition that seeds grown inside don’t face – birds, weather, weeds and so on. This usually means you will have a smaller percentage of seeds germinating, and you will lose a few more seedlings, so you can sow seed a little thicker.
You can either prepare a specific seed bed, for example if you’re growing veg, you might have a special spot for carrots or pumpkins, or a whole border just for annual flowers, or you can sprinkle seed in amongst other existing plants in the garden.
If you’re sowing into a seed bed, follow a similar approach to the ones outlined above, either for medium or large seeds. Sow thicker than you want the final spacing to be and once the seedlings have emerged you can “thin out” – removing excess seedlings until the plants are appropriately spaced (again, that will vary by plant, and you should find that info on the back of your seed packet…)
If you’re sowing among existing plants, prepare the area by weeding and removing any debris on the soil, such as fallen leaves or branches. This could stop the seed coming into contact with the soil and would then prevent it germinating. Scatter the seeds around, trying to spread them out evenly, and again, use more seed than you will eventually need as not all of it will germinate or grow successfully. Keep an eye on the space over the next few weeks, watering if there is a dry spell, and weeding any weed seedlings that appear (it’s helpful to know what the seedling of your chosen plant will look like, so you don’t accidentally remove it along with the leaves! If you’re not sure, a quick Google can help…) Once the seedlings appear, thin out if there are any clusters too close together, and remove any ailing plants so that the strongest and healthiest have the best chance to grow well.