How to: Pricking out and potting on seedlings
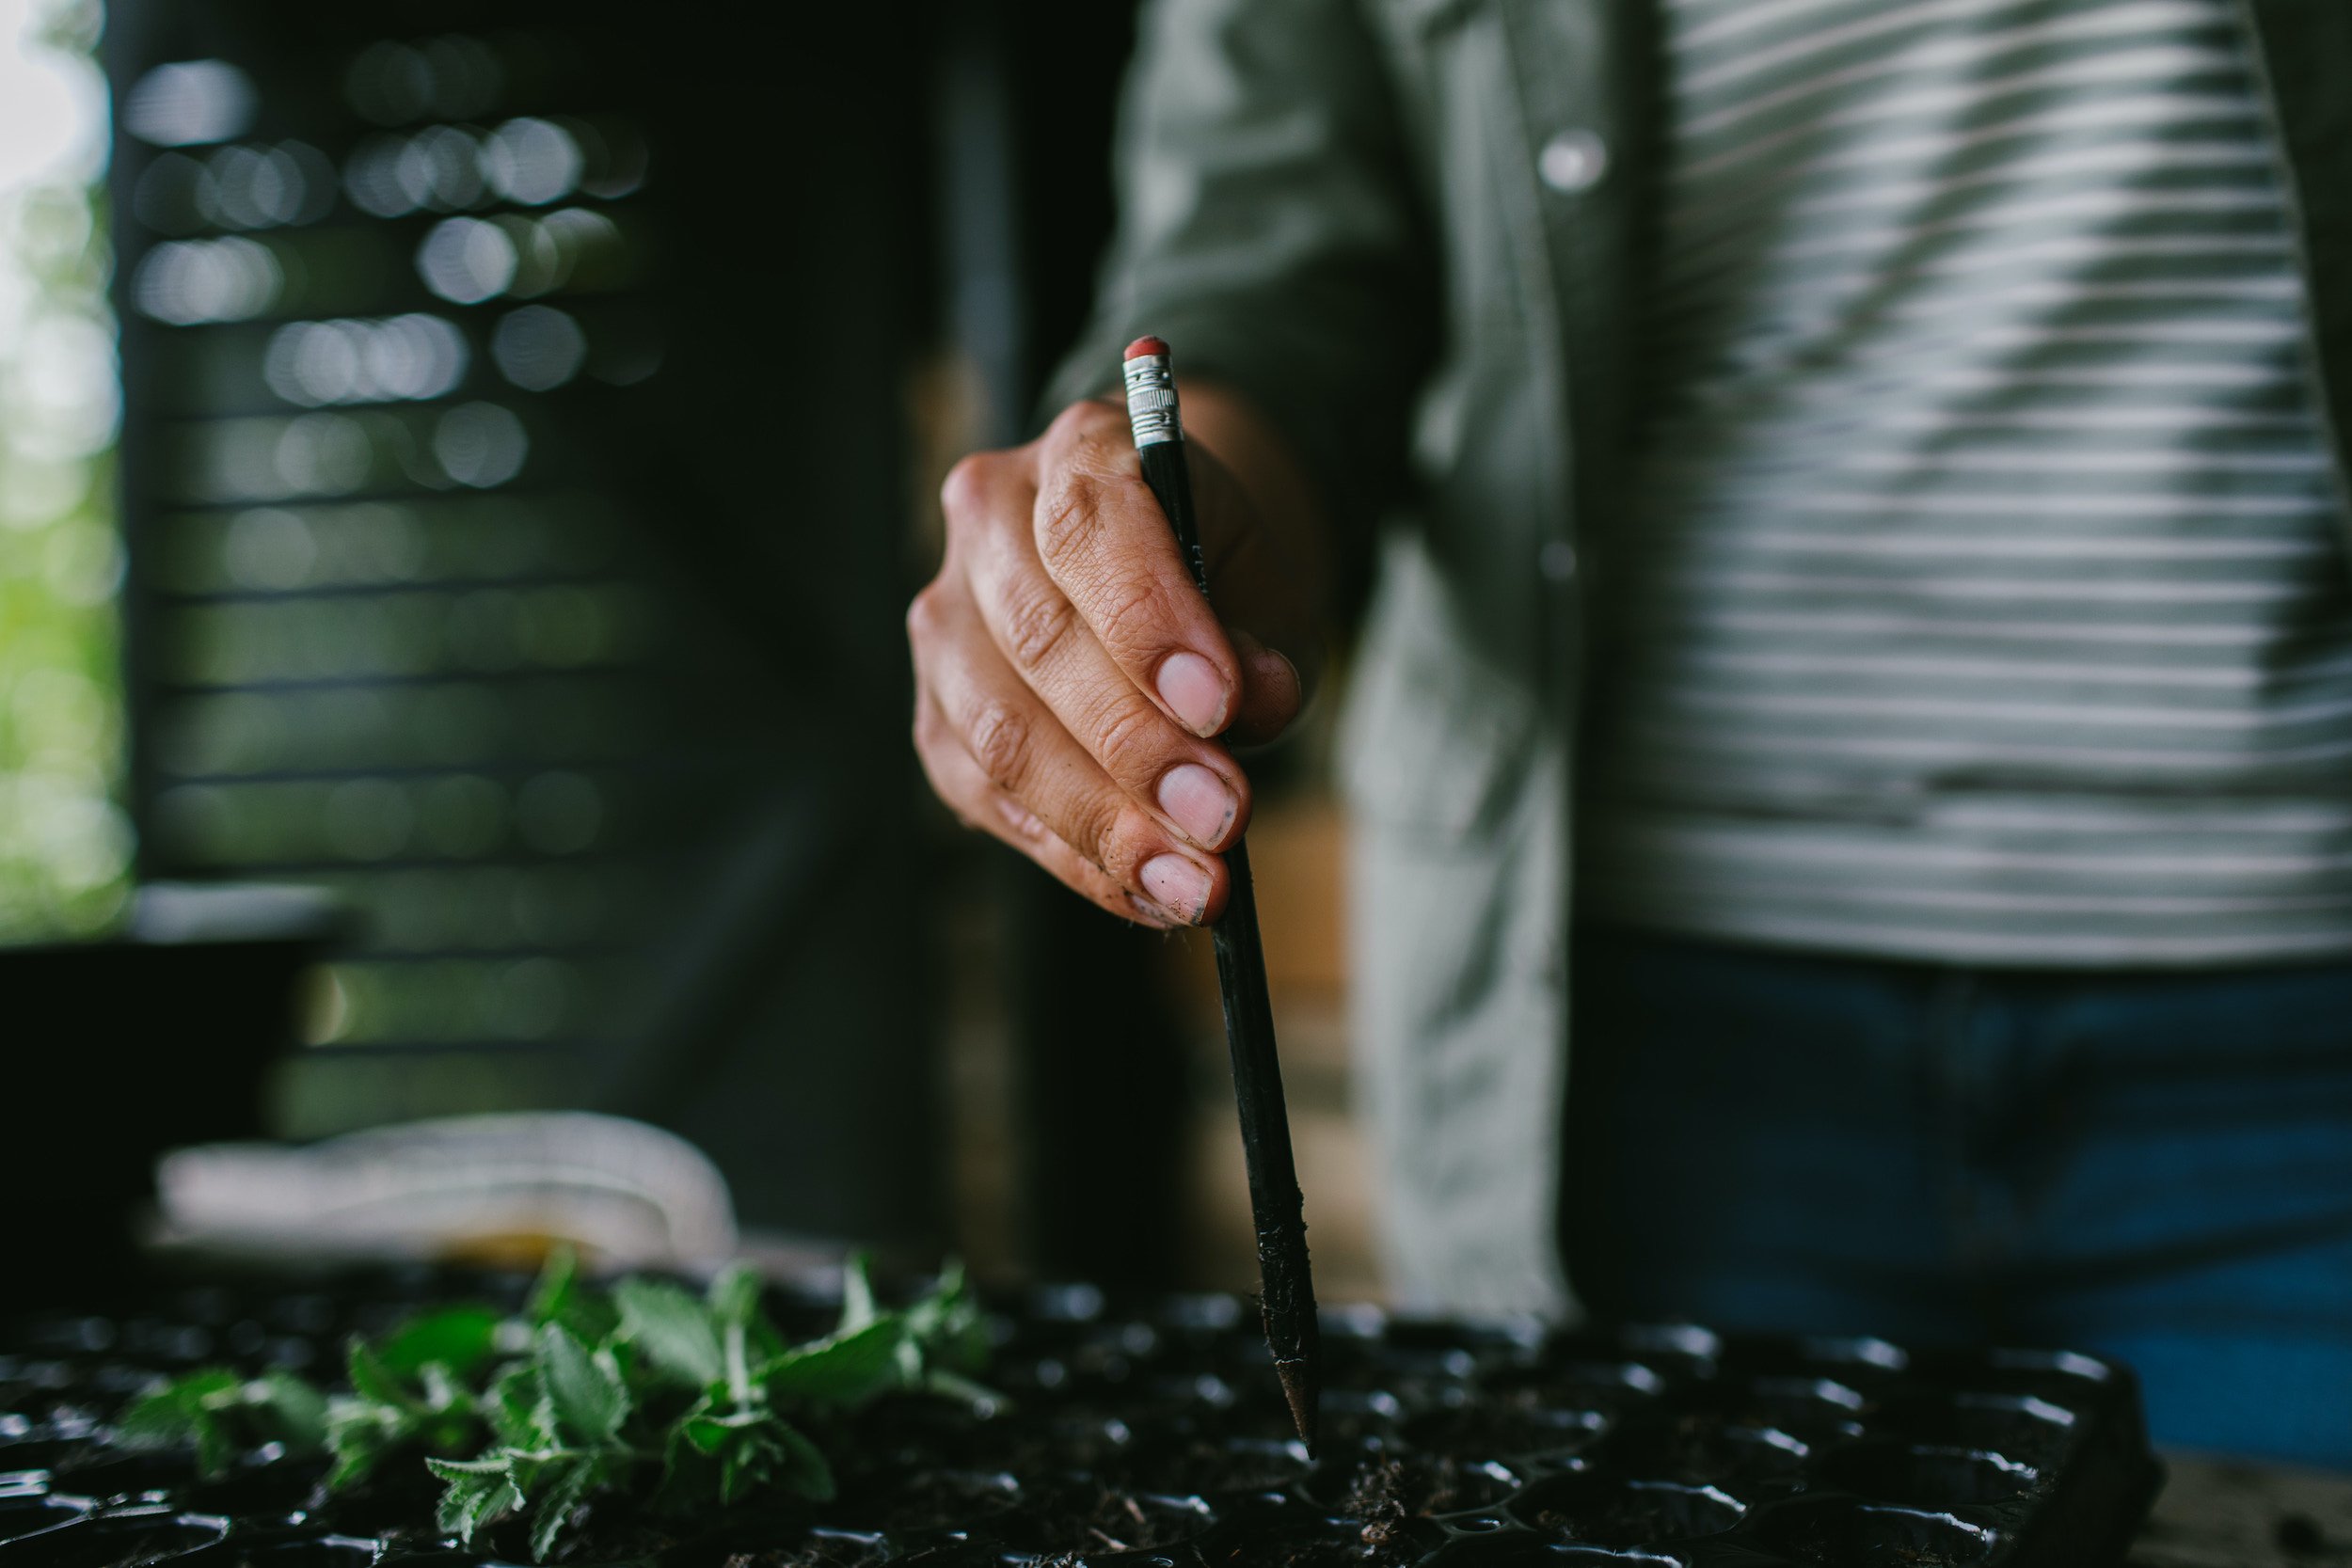
A pencil can be the perfect tool for pricking out!
“Pricking out” and “potting on” seedlings are terms that you frequently read in gardening guides and ones that — like so much of the ever-prevalent horticultural jargon — sound much more complicated than the job actually is.
Despite the rather confusing terminology, all of these descriptions mean nothing more involved than replanting small seedlings from a tray where they’ve been grown together into their own individual pots.
Different seedlings need slightly different ways of being handled, which is why the two different terms are used. Some seedlings (typically those with sturdy roots, such as tomatoes) need to be individually removed from their seed tray and carefully placed in individual growing containers to thrive and enjoy the space. This is known as pricking out (because you usually use an implement that literally pricks them out of their original growing position…).
Seedlings that dislike root disturbance, such as sweet peas, are usually grown in small individual containers from the beginning, and then moved up to a larger sized container once they have outgrown their space. This is known as “potting on.”
Read on for our tips for both…
Why prick out seedlings?
When plants are grown from seed, it’s quite common to scatter seeds onto a big seed tray, and let them germinate all together. This is especially true for fine or medium sized seeds, like foxgloves. (Bigger seeds, such as sunflowers or beans, are easier to individually place into their own pots and leave to grow as they are…)
Starting off seeds in a large seed tray makes sowing them quicker – you can usually just scatter them across the top – and also means you don’t waste compost space if not all the seeds germinate.
However, once they have germinated, and the first leaves start to appear, they can quickly get overcrowded and compete with each other for light and water. This can lead to seedlings getting etiolated or “leggy” as they grow upwards on spindly stems to try and beat the other plants to the sunlight. Cramped growing conditions can also lead to reduced airflow which is a major cause of many fungal diseases, like the dreaded damping off, when all of your new seedlings suddenly, apparently inexplicably, keel over and die.
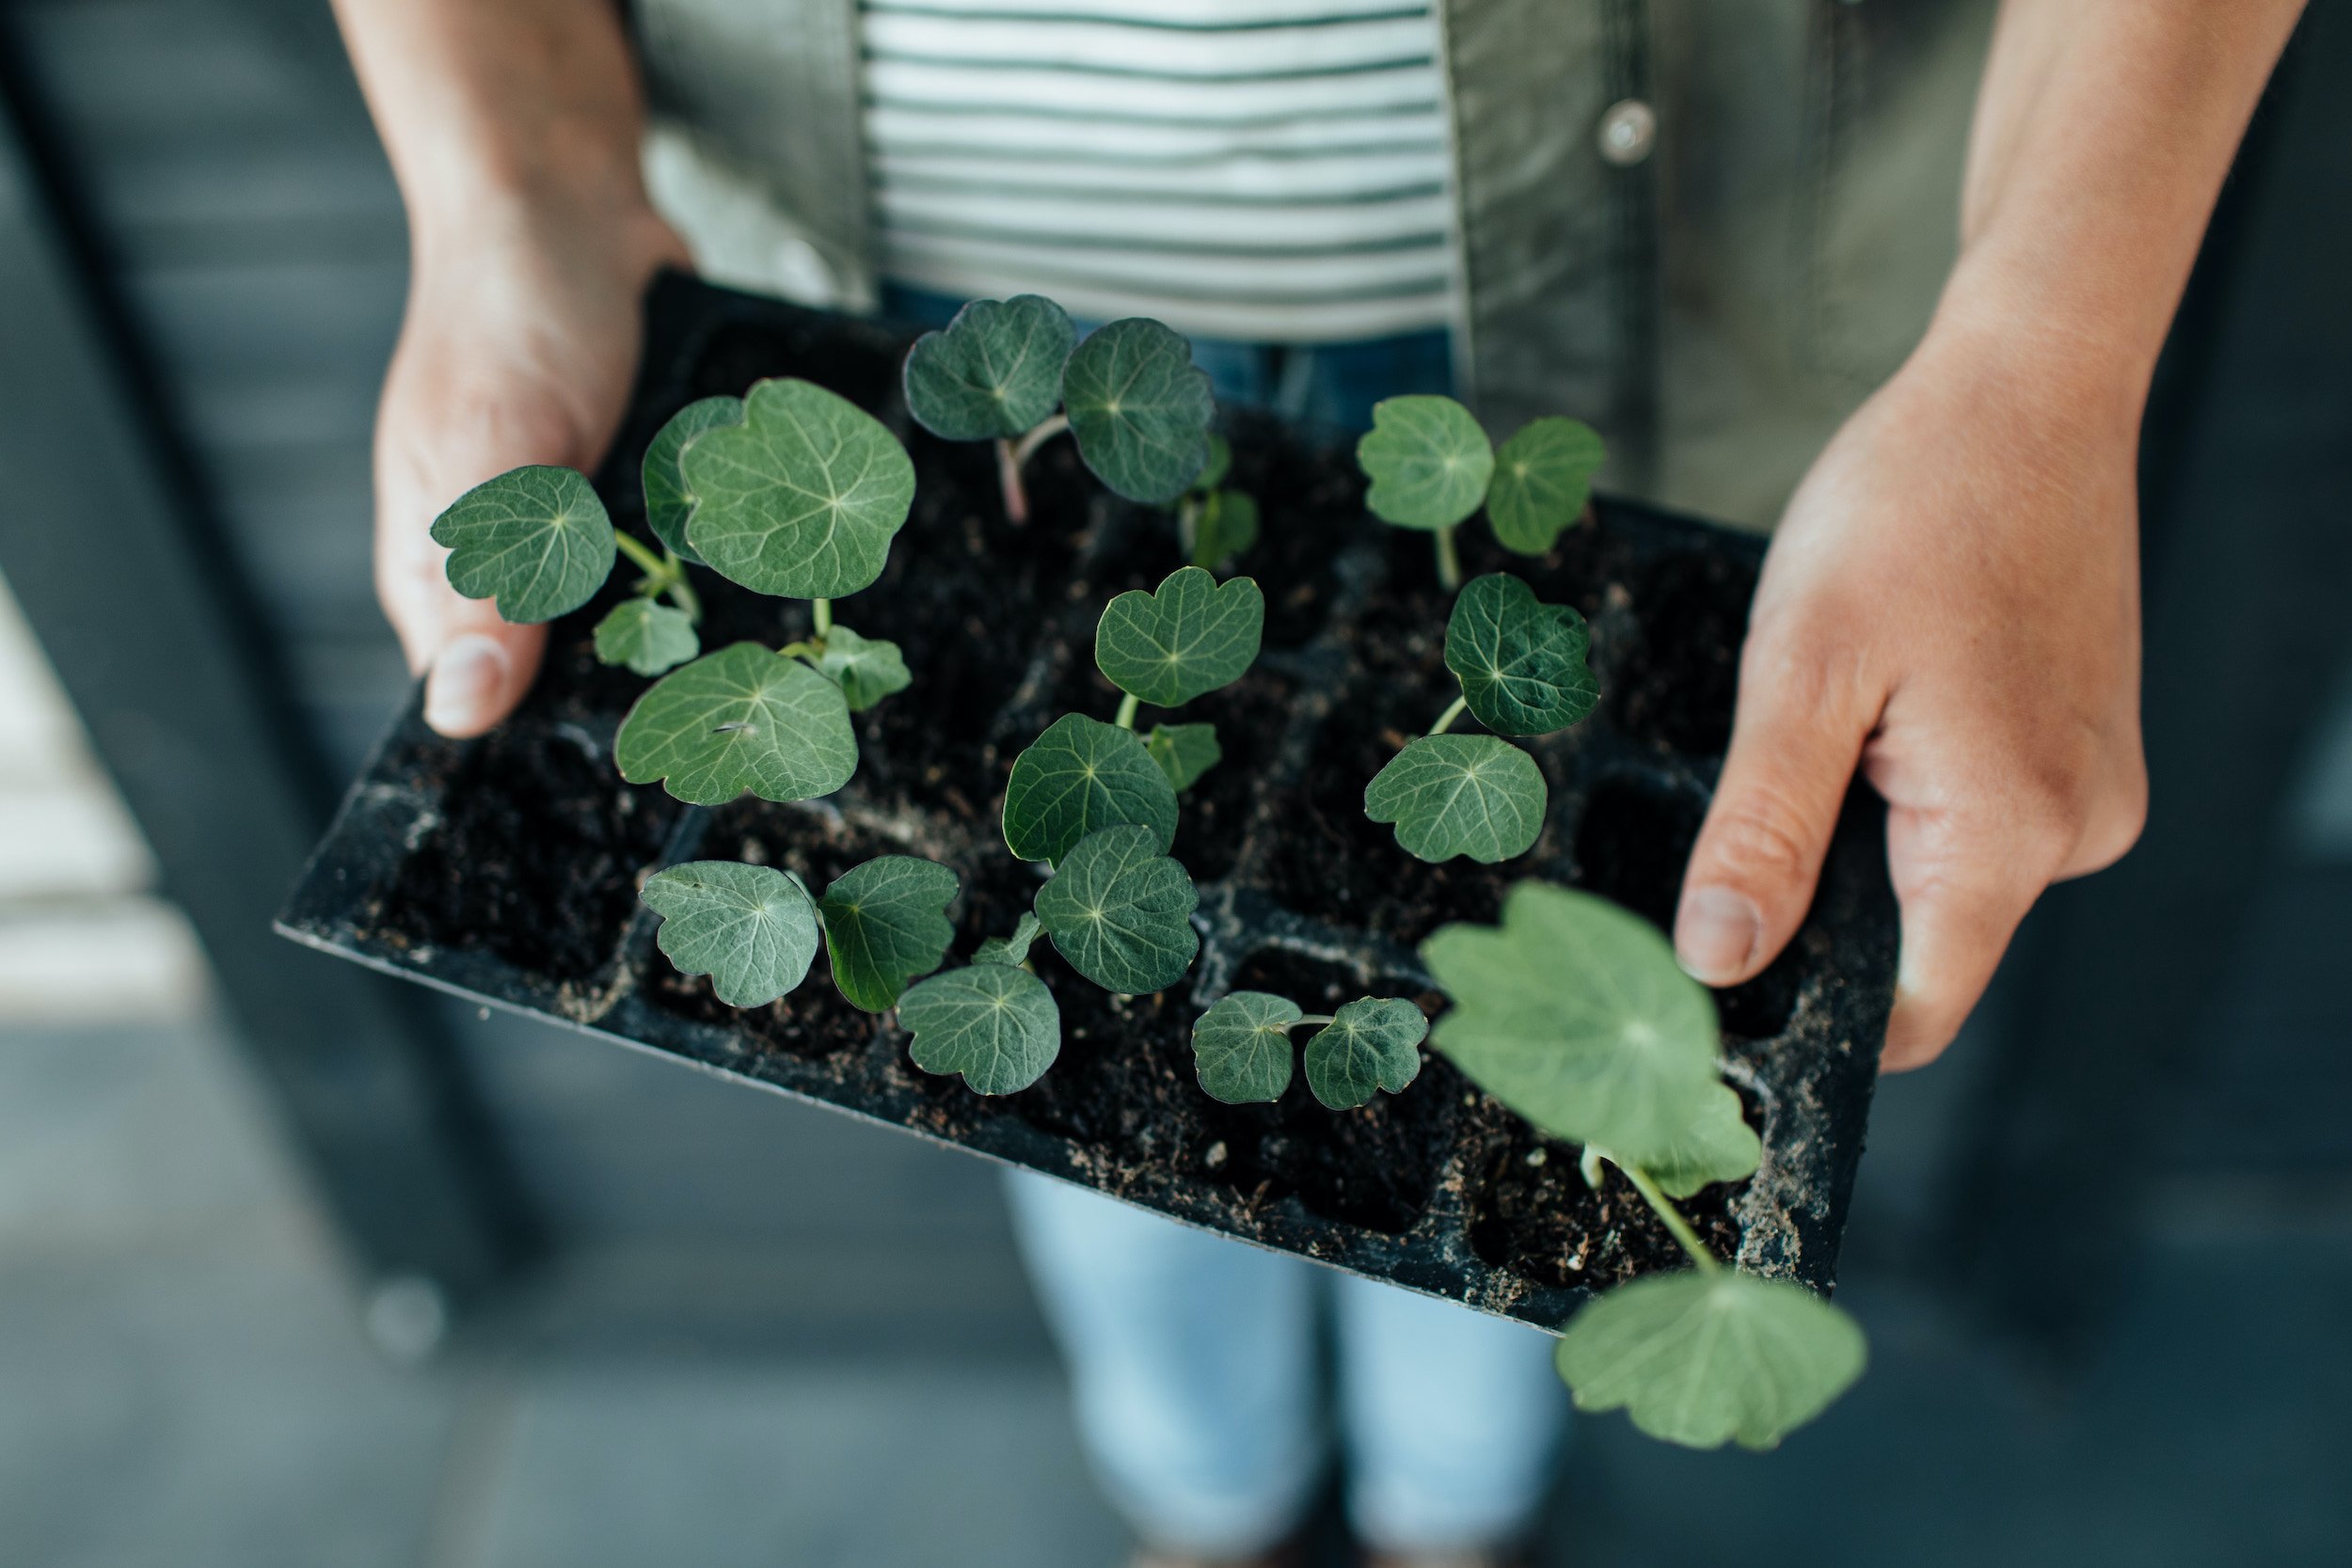
So, in order to grow the healthiest, strongest plants, instead of leaving them all together in a seed tray, you need to prick them out. Once seedlings have their second pair of leaves, it’s the perfect time to move them into their own pots.
How to prick out seedlings
First of all, prepare your new pots ready for the seedlings to go into. You can use either small individual pots or seed module trays. We’re trying to get away from plastic as much as possible and there is now a good range of biodegradable options available to buy. Biodegradable plant fibre pots (which also come as strip trays) are a great option, as you don’t have to remove the seedling again when you pot it on to a larger pot, or into the ground. You can just place the entire biodegradable pot into the soil and – as long as it stays well watered – it will break down after a while.
Whatever you’re using, fill almost to the top with an appropriate seedling compost. (See our guide on how to choose the right compost if you’re unsure what to use.) Using a small dibber, or just a pencil or even your finger, press down in the middle to make a small indentation ready for the seedlings (see the picture at the top). Preparing the pots ready before you prick out the seedlings helps to protect the roots, which can dry out quickly and easily get damaged, as they spend as little time as possible outside in the air.
Once the pots are ready, it’s time to prick out the seedlings. A good way of working with seedlings is to hold onto their leaves only and not to their stems. This is because the small seedlings are quite delicate, and if they get damaged by handling (which is easily done) they can grow new leaves quite happily, but won’t be able to grow new stems if they are snapped or accidentally squashed.
As you gently hold onto one of the larger leaves, use an implement to gently tease the roots out of the compost. This could be a purpose made “pricking out tool,” which is a sort of plastic spatula with a pointed end. However, general household utensils can work just as well, such as a pencil, chopstick, or the end of a plant label.
Once the seedling is removed, gently place it into the indentation in a pot. Position it so that its first set of leaves are in line with the top of the compost, which ensures it is firmly secured into the pot and gives its stem a chance to grow as strong as possible.
Lightly pat or pinch the compost around it to hold it in place and carefully water it in.
Check the plants regularly over the next few weeks, to make sure they’re heathy and happy and have handled the transition well!

Potting on tomato plants
Why pot on seedlings?
So why do some seedlings need to be “potted on” instead of pricked out? This is generally the process for plants that have delicate roots, or especially dislike root disturbance (such as sweet peas, right) or plants that are grown from larger seeds and are placed within their own individual compartments at the time of sowing.
These plants can usually be left a little longer in the spot in which they were sown, as there is more space and nutrients for them to get going. Once they reach a decent size, and are filling out their pot, they will need to be moved on, usually to a slightly bigger pot before they are placed in their final position in the garden. This process is known as “potting on” — they are literally moving on a pot size…
Potting on is fairly straightforward, and less fiddly than pricking out. Because the plant is larger and its roots are more established, it is less likely to get damaged by the process.
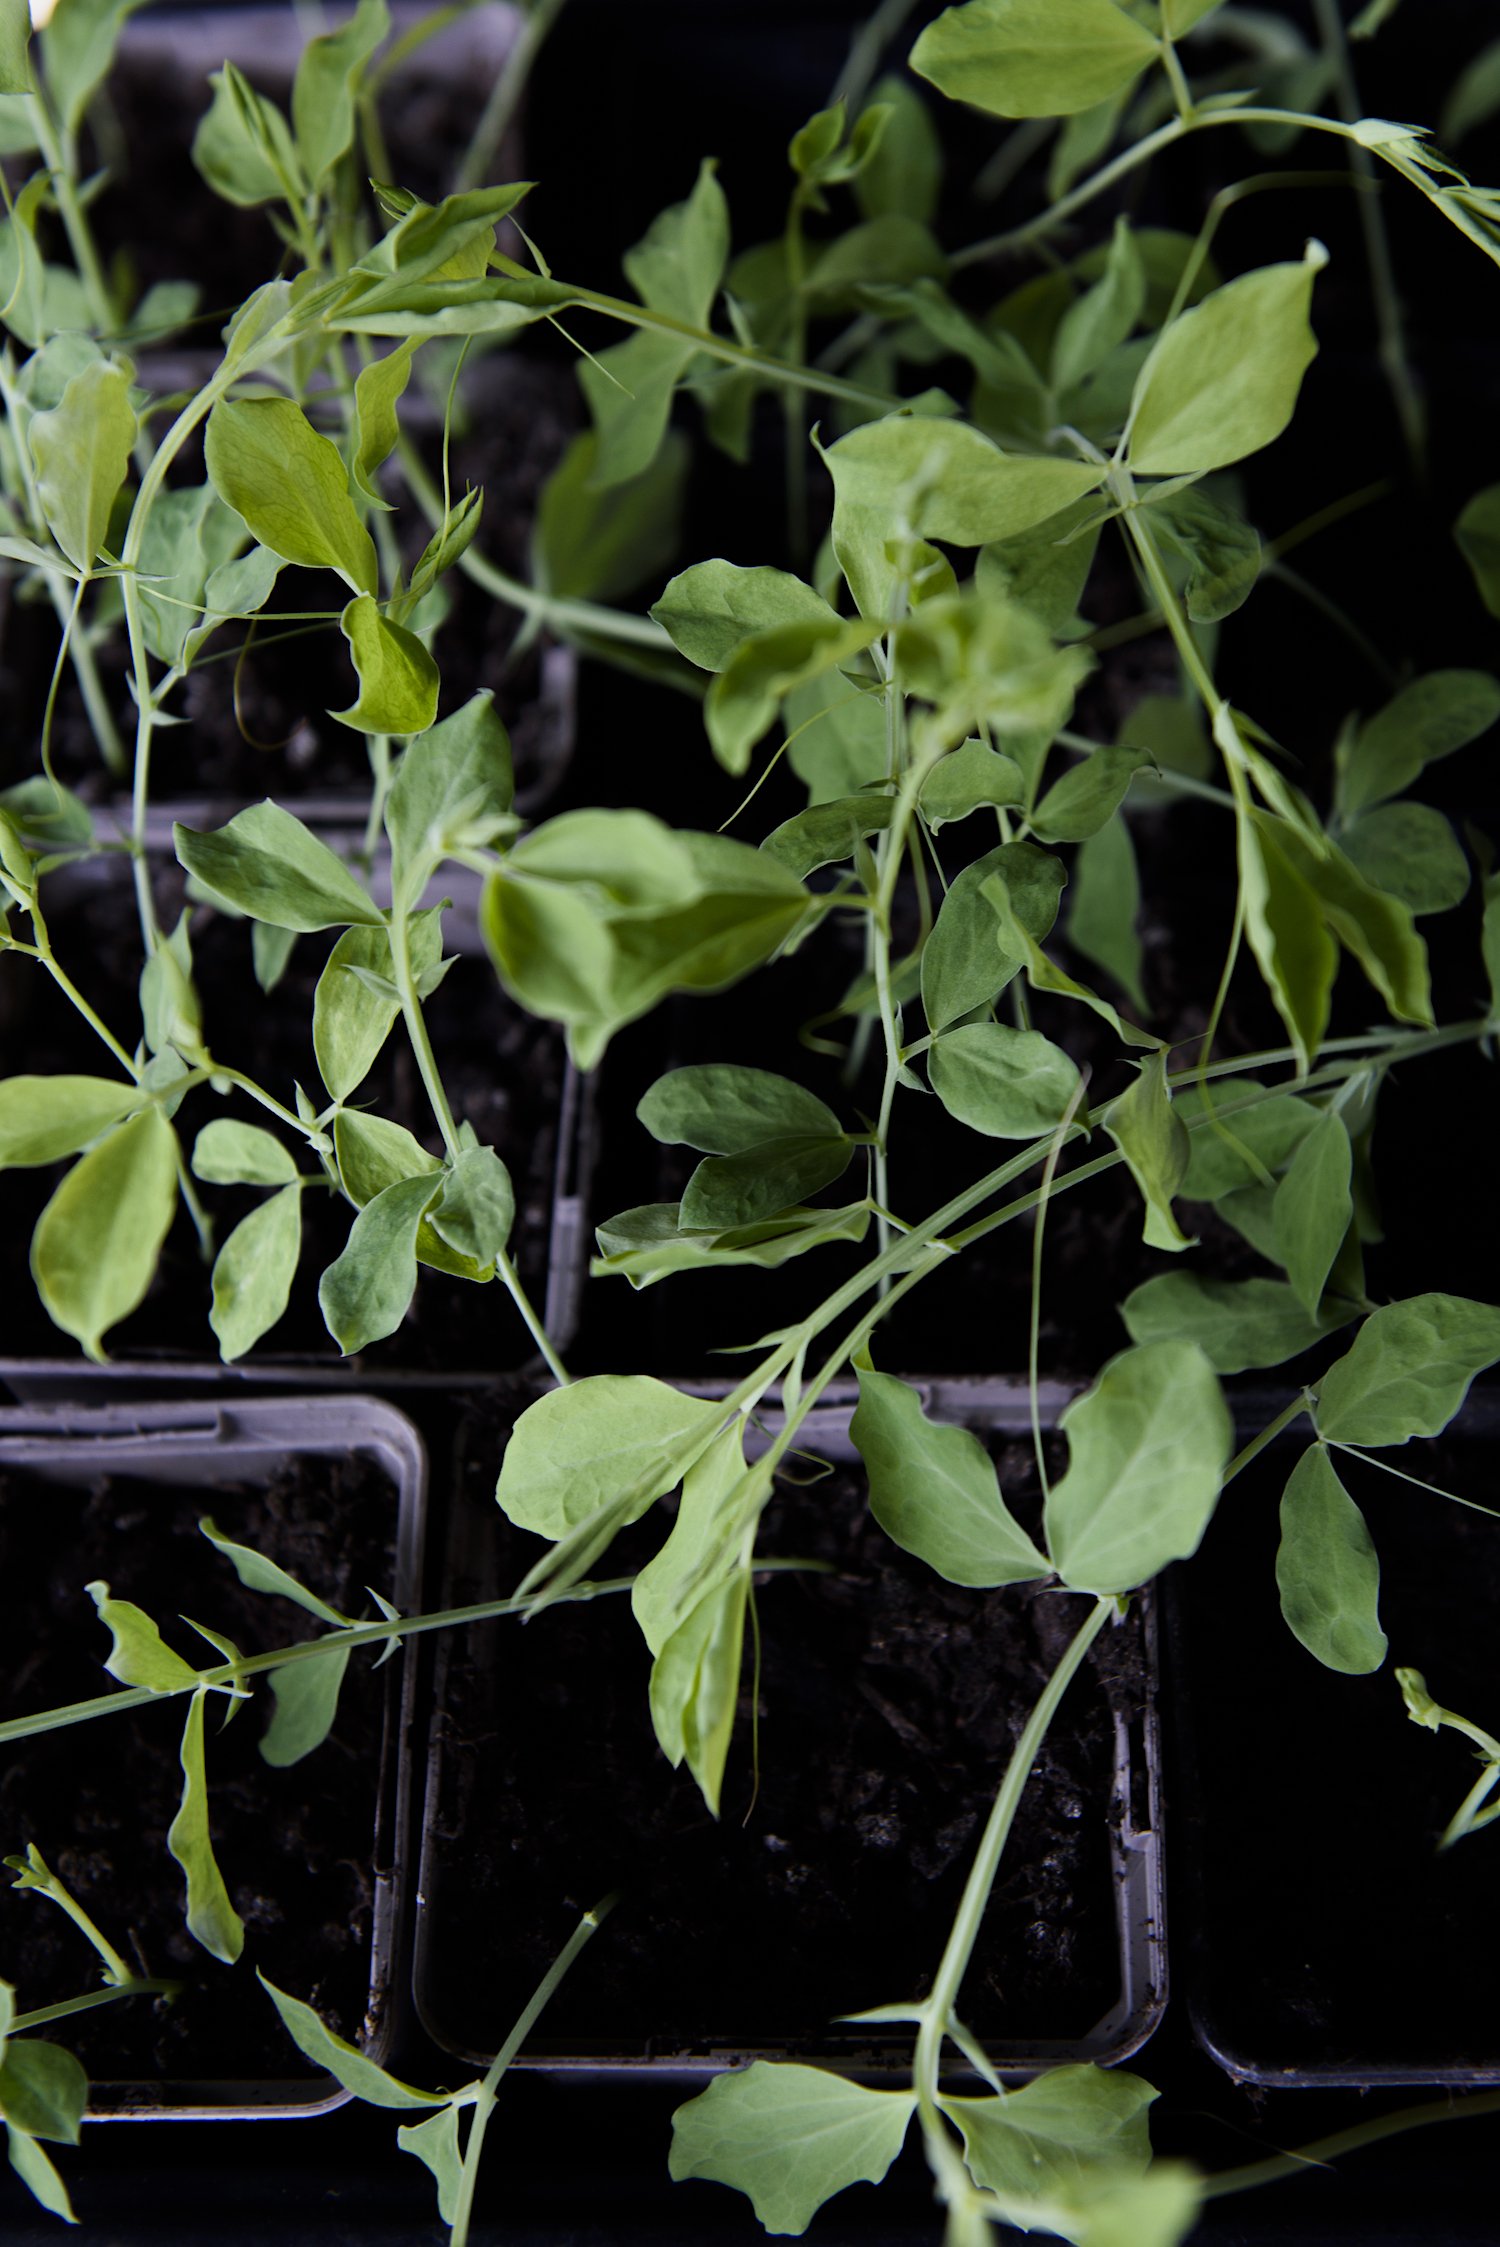
A crowded tray of sweet pea seedlings, ready to be moved to individual positions
How to pot on seedlings
Firstly, prepare the new pots. Place a depth of compost in the bottom of each pot so that the plant plug will sit just below the top of the pot once it is moved across.
To move the plant, gently squeeze the sides of the original pot / container, in order to loosen the compost. Carefully remove the entire plug of roots and compost, and place it into the new pot. Fill the sides with compost, and gently tap into place. (You don’t want to squash it down so much that you remove all the air holes, so just a gentle push to make sure compost has filled throughout the pot will do well…)
Water the plant in well, and keep an eye on it over subsequent weeks.