Growing pumpkins
Experiments in our very first pumpkin patch
Pumpkins are one of our favourite vegetables to grow. Their transformation across a single growing season is phenomenal. One seed planted in Spring turns into a huge plant by the Autumn time, a mass of tendrils and leaves, studded with thick, round fruit that’s ready to harvest just in time for Halloween.
But much as we love pumpkins, until this year we’ve grown our vegetables in a restricted space: either dotted among the flower beds in the garden, or at our allotment. So, we’ve chosen pumpkin varieties that don’t take up too much space and won’t crowd out their neighbours.
But we’ve always had dreams of a proper pumpkin patch: a dedicated space for a rainbow selection of pumpkins, where their sprawling tendrils could spread out and really go for it.
Earlier this year, in April, we bid at auction on a plot of land and – much to our delight – we won! As the excited owners of just over 13 acres of land, we knew we had space for the pumpkin patches of dreams… Once I had finished shaking with excitement, the very first thing I did was order a ridiculous amount of pumpkins and winter squash seeds.
The experiment
I wanted to experiment with the pumpkin patch, and with the luxury of the time and space to do it in, decided to set up a “no dig, no water, woodchip pumpkin patch.”
I have long been obsessed with woodchip. I am evangelical about mulching a garden and woodchip is always our mulch of choice in new planting schemes. The plant nursery that supplies our jobs joke that we are “slowly covering South Wales in bark mulch”!
At the time, I was reading The Woodchip Handbook by Ben Raskin (which is a great read if you’re as nerdy about such things as I am! You can find it on his website: Ben Raskin’s Woodchip Handbook.) In it, he mentions someone growing pumpkins from a pile of woodchip mulch and this sparked my idea for an entire pumpkin patch…
I’m also very interested in no dig growing. It’s a method of gardening expounded by Charles Dowding, which avoids digging through soil either to remove weeds or to add nutrients, but instead lays down a layer of mulch on the top of the soil and lets the natural soil organisms (worms and so on) get on with the work on their own. It’s a double win: less work for the gardener, and less damage to the soil structure.
Inspired by these two principles, we created our patch.

Building the patch
We created a long, thin patch, roughly 13m long by 1m wide. We were experimenting with how much space each plant would need, and decided to give about a metre of space to each variety. Of course, we had plenty of room, so we’ve gone big, but you could grow pumpkins in a smaller area than this. Allowing an average space of 1-2m per plant is a good rough guide for planning.
On top of short grass, we placed a layer of biodegradable mulch paper (we used this heavyweight organic paper from Mulch Organic). Another option is to recycle old cardboard. Corrugated cardboard boxes, for example, work well, but we didn’t have enough at the time.
On top of that, we laid a thick layer of woodchip, varying in depth from 150mm-300mm. We sourced this from a local tree surgeon friend of ours, who kindly dropped it round to us. It’s always worth checking with any tree surgeons you see working in the area, as they’re often happy to pass on the wood chippings…
We made little gaps in the woodchip to plant the seedlings, along with a handful of peat-free compost. We then covered the compost with mulch.
The pumpkins
We chose 13 different varieties of pumpkin, in all of the colours of the rainbow.
The full list:
Winter sweet (A grey-skinned round squash)
Red turban (An orange skinned squash with a distinctive striped bump on the top)
Green Hokkaido (A green skinned squash, known for having a delicious nutty flavour)
Cornell’s Bush Delicata (An elongated squash with a pale skin and deep green stripes. The skin and flesh can be eaten.)
Marina di Chioggia (A sea pumpkin from the Italian coast of Chioggia. The skin is greeny-grey, covered in bumps that look a bit like warts!)
Anna Swartz Hubbard (A fairly large squash, with pear shaped fruits and almost black, hard skin)
Futsu black (A small pumpkin-shaped squash with black ribbed skin)
Green Kuri (Another small squash with green skin and pumpkin-shaped fruits)
Red Kuri (A small thick skinned orange squash)
Sweet Dumpling (A really attractive, small squash, with white skin and darker ribs. Looks just as good on display at Halloweeen as it does to eat!)
Amoro (An orange skinned pumpkin, that unusually doesn’t trail)
Jack O’Lantern (A large orange pumpkin, perfect for carving)
Queensland Blue (A very spreading variety, with dark blue skin and large ribbed fruits. This one needs plenty of space to grow as the vines can trail for up to 8m!)
Growing the seedlings
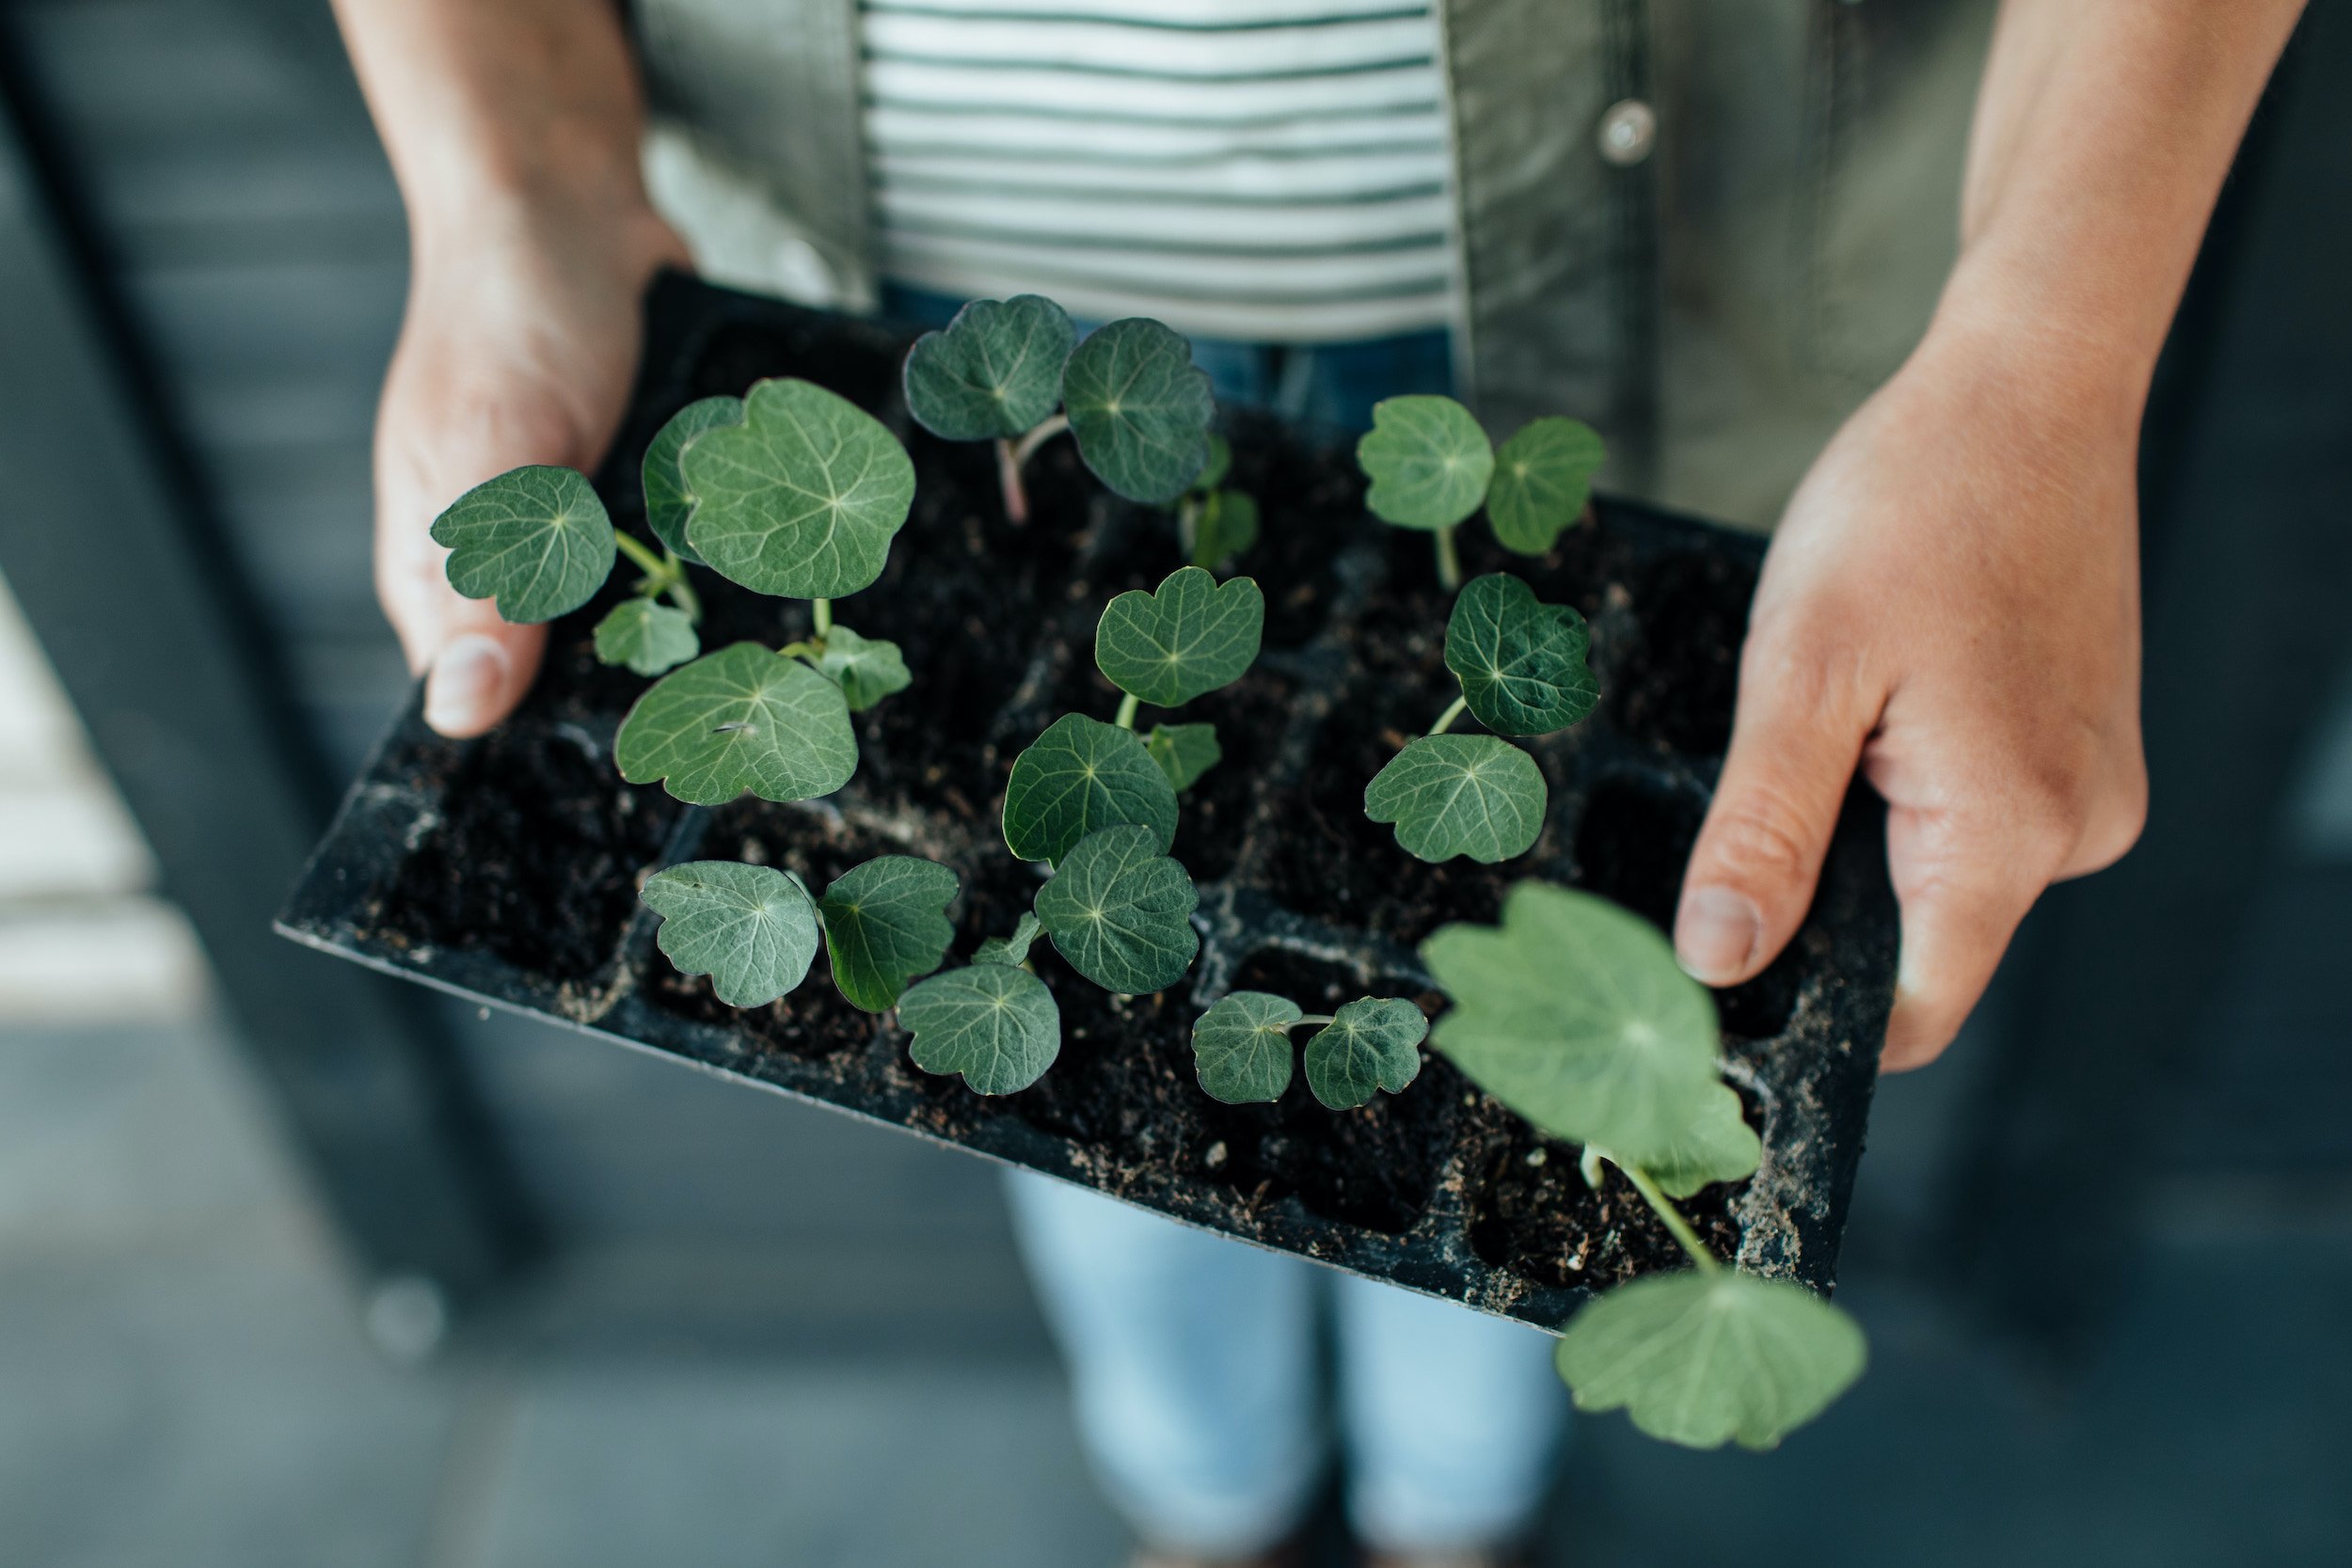
We sowed the seeds in our conservatory at the end of April. Pumpkin seeds are great for growing with kids as the seeds are quite big and easy to place into pots. They germinate quickly, so there’s an immediate satisfaction of watching them grow!
We kept the germinating seeds well-watered and watched with glee as they emerged and spread out their hairy leaves. A month later, by the end of May, the conservatory was resembling the day of the triffids! The plants were bursting at the seams and ready to come out.
We hardened them off for a week on our sheltered patio. We’ve been bitten in the past by planting out too early, so always now wait until the end of May.
In the last week of May, we were ready to plant them out into the patch.

A basket of harvested ‘Cornell’s Bush Delicata’
Caring for the pumpkin patch
After the pumpkins were planted out into the patch, we watered them once only, to settle them in.
Because we’d waited until the very end of May, the plants were already big enough to hold their own against slugs and snails. We did have some inevitable nibbles, and even lost a few whole plants, but we had planted more than we needed so it wasn’t the end of the world.
After the first watering, we did nothing at all, but left them to their own devices and watched them growing happily, thriving on neglect! Even with the extreme heatwave we had in the past summer (2022) we still didn’t water them. Though the top of the mulch felt completely dry to the touch, an inch or so down was still damp.
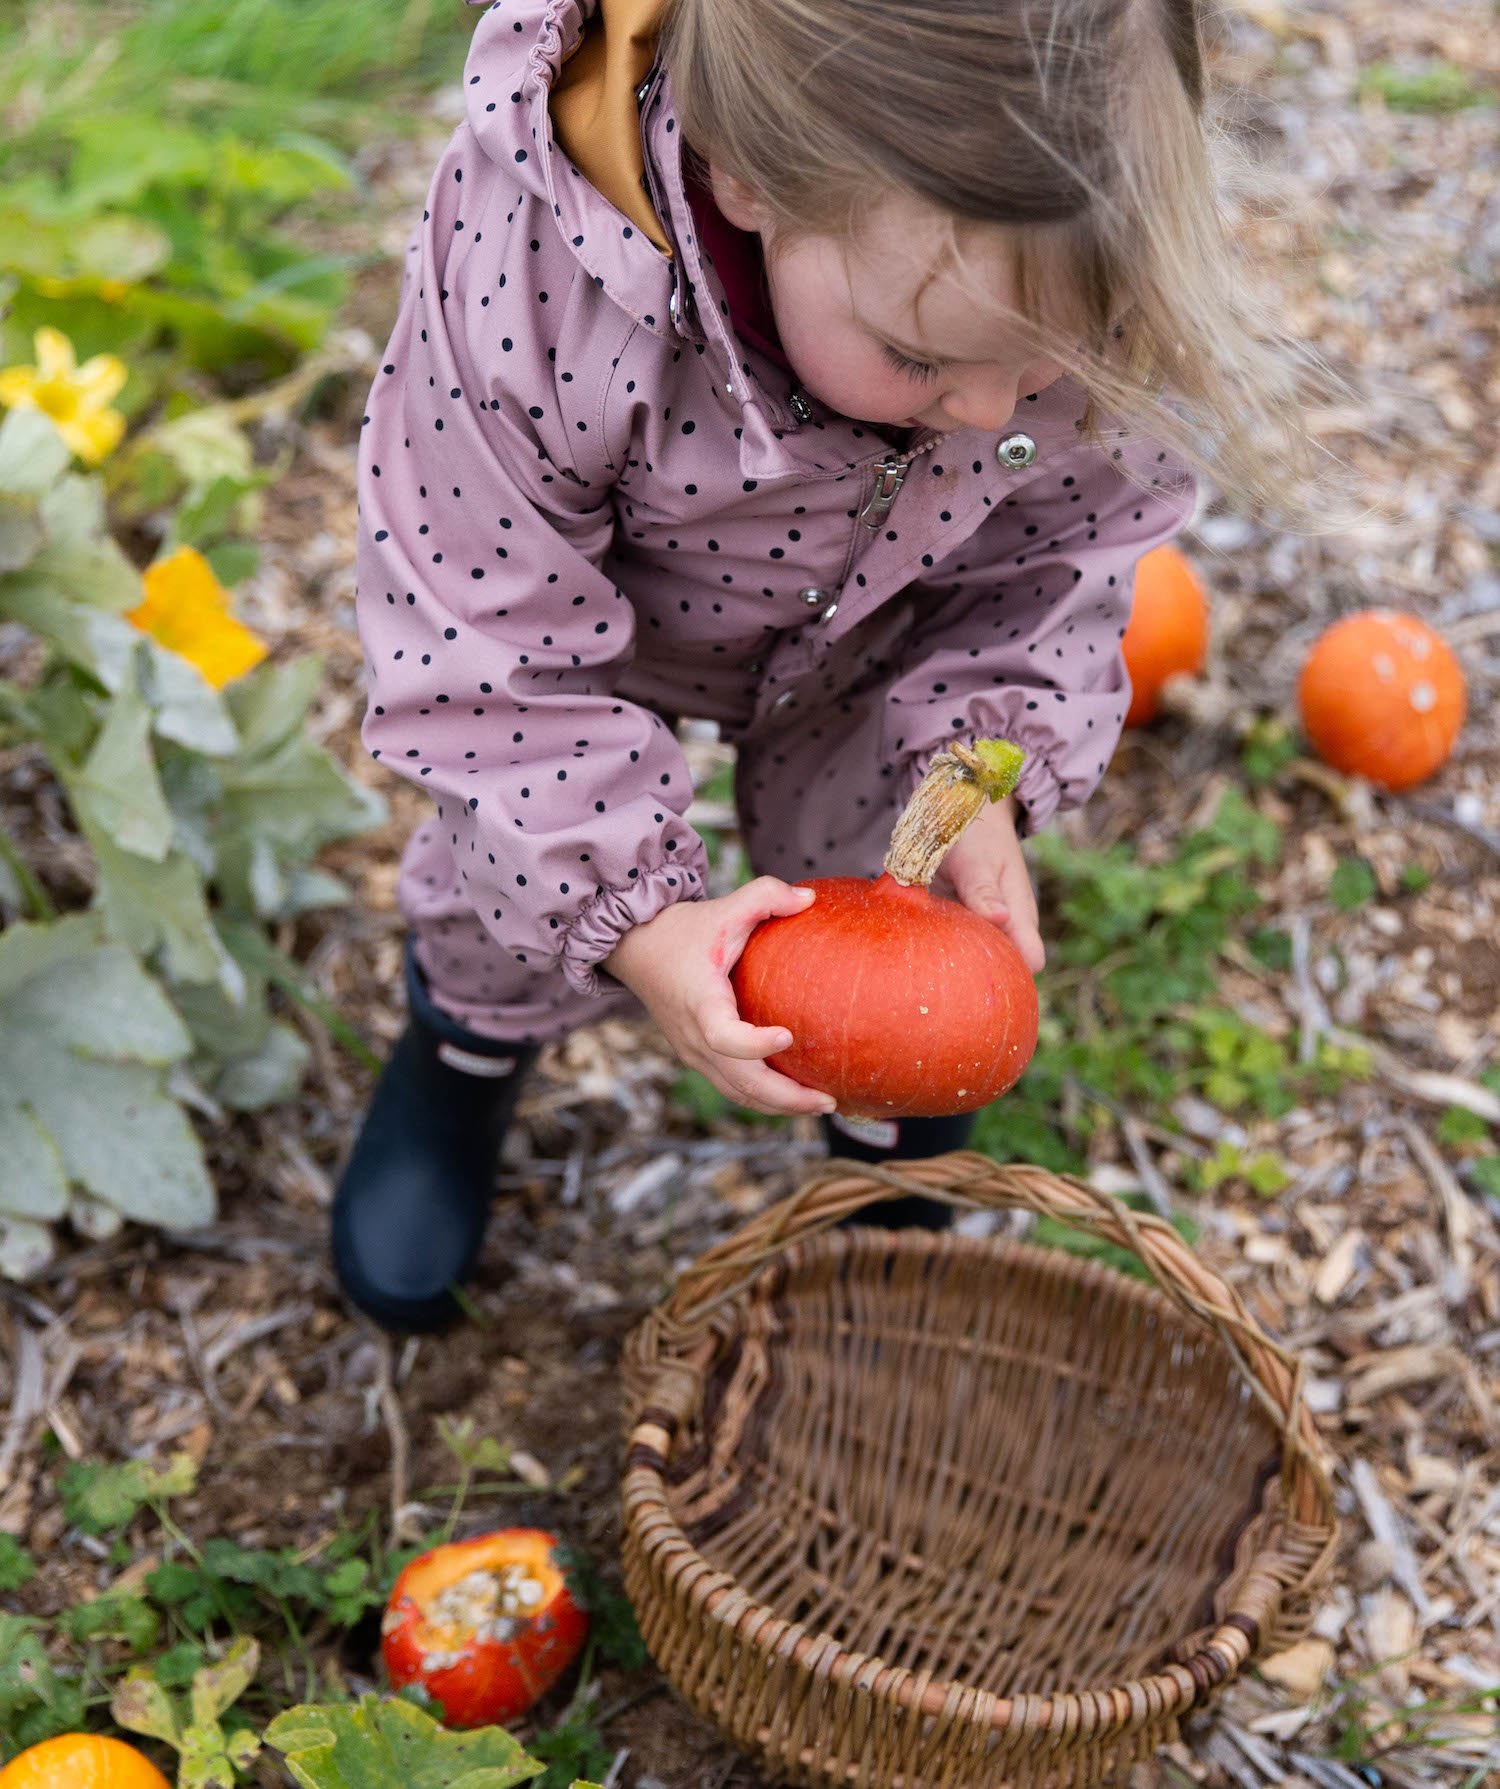
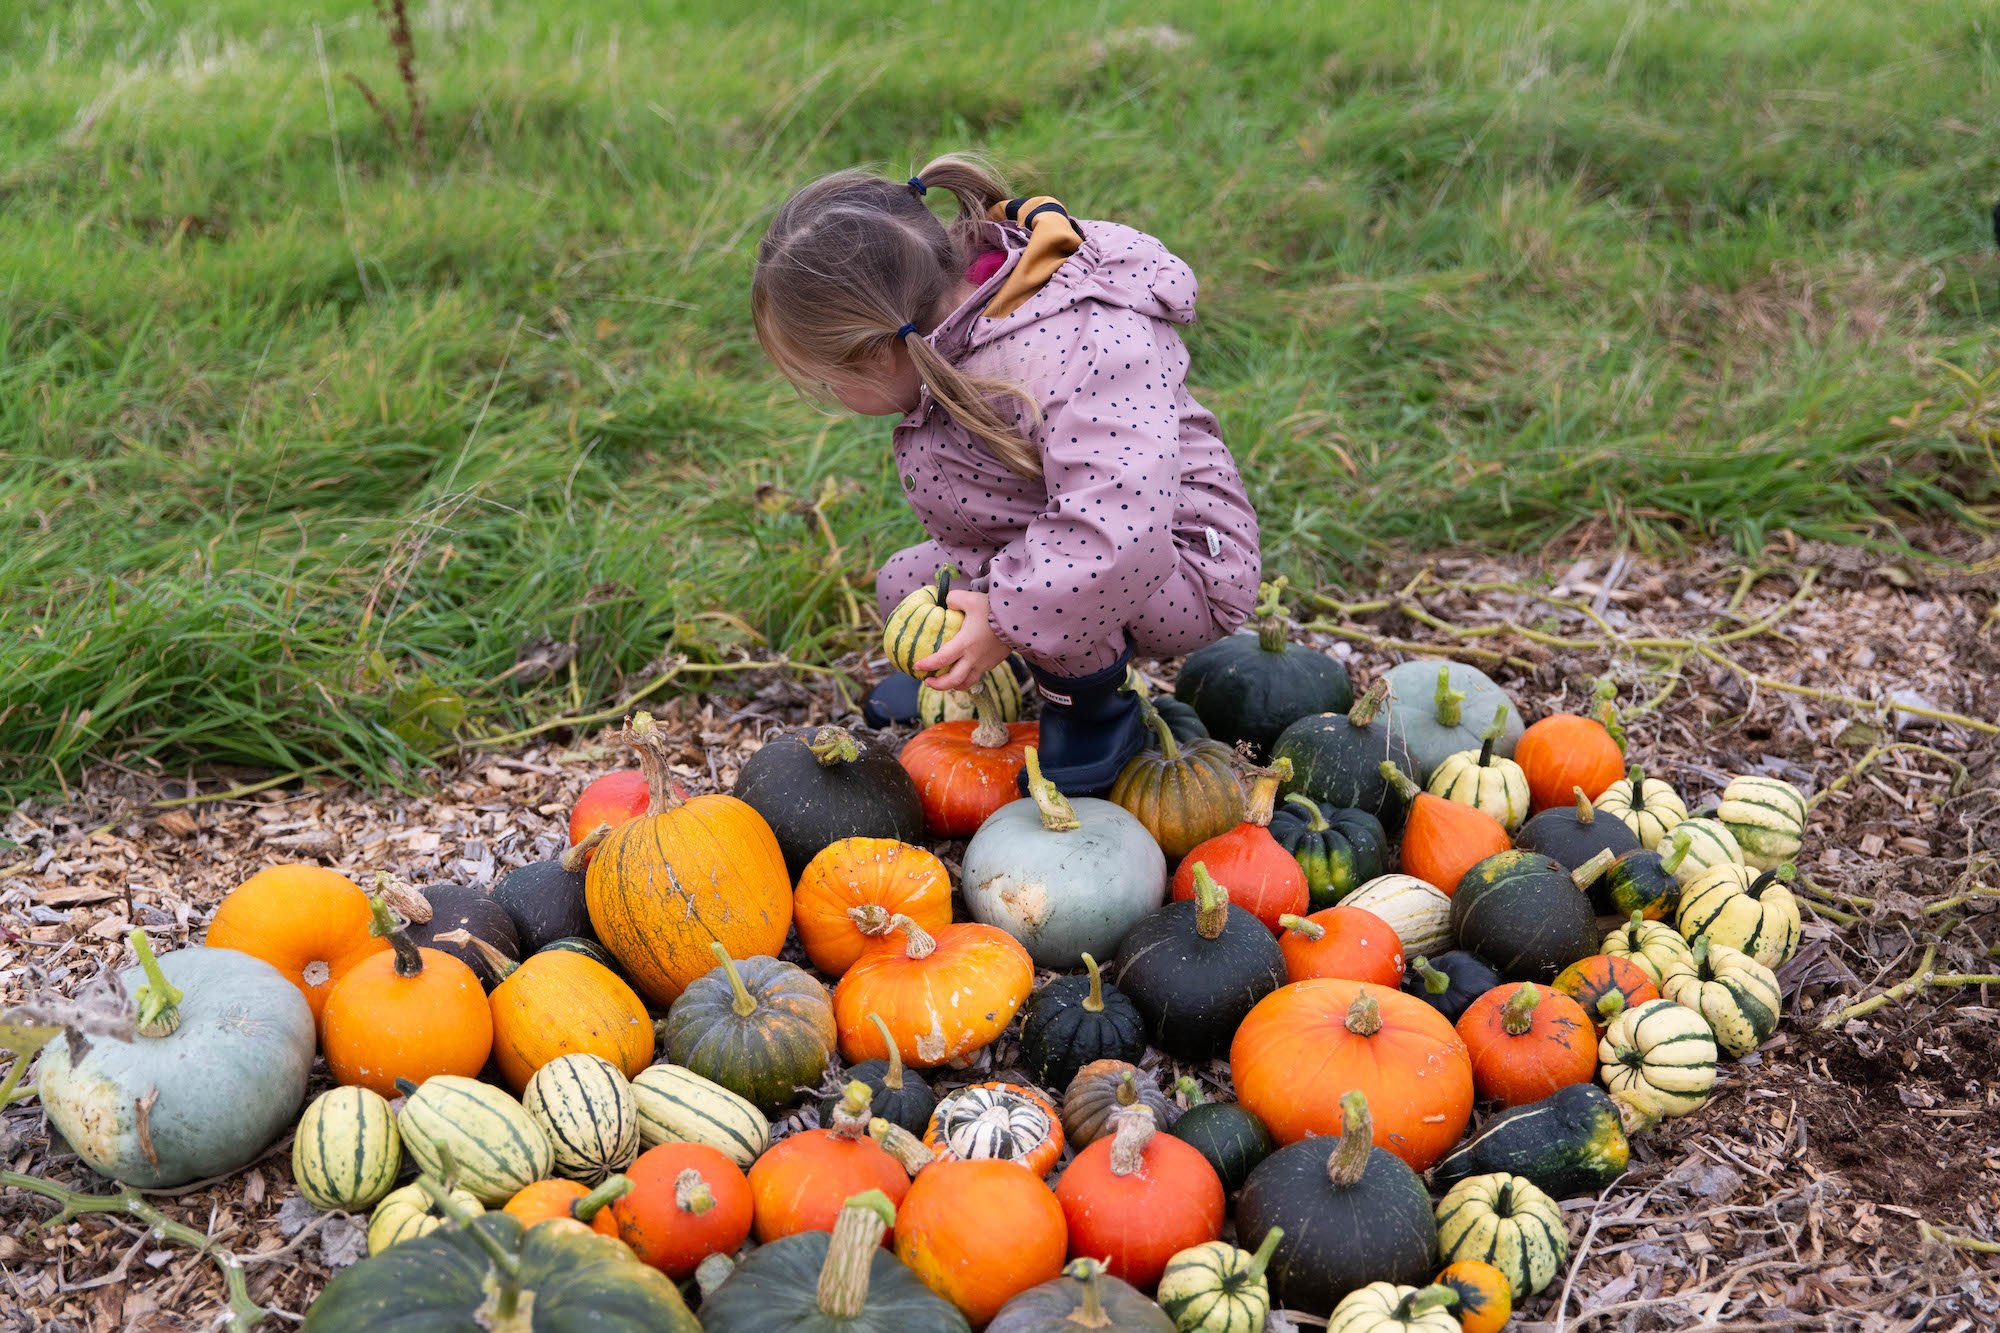
Our little one inspected them regularly with much enthusiasm and was delighted when the huge hairy leaves were pulled back to reveal swelling pumpkins and squash.
By the middle of September, the leaves had started to turn brown and die back. With storms forecast and a few of the fruits showing signs of being munched by slugs, we decided to harvest them.
Harvesting and storing
To decide when to harvest pumpkins, keep an eye on the fruit and on the weather. They’ll need to be cut after they’ve ripened and before the first frosts arrive. To determine if they’re ripe, give them a tap – if they have a tough skin and sound hollow when knocked, this is a good sign they’re ready.
We cut the fruits from the plant, leaving the stem as long as we could. This is supposed to be the key to helping them store well throughout winter.
So many fruits need some decent space to keep them. My parents agreed to store them for us on top of their kitchen cupboards – in exchange for a share of the harvest, of course! Each variety stores for a different amount of time, but on average most will store between four and six months. (Check the seed packet at the time of sowing to find exact details for each specific plant.) Any well-ventilated space will do, with an ideal temperature of 10-15 degrees, the cool temperature helping to prevent rot.
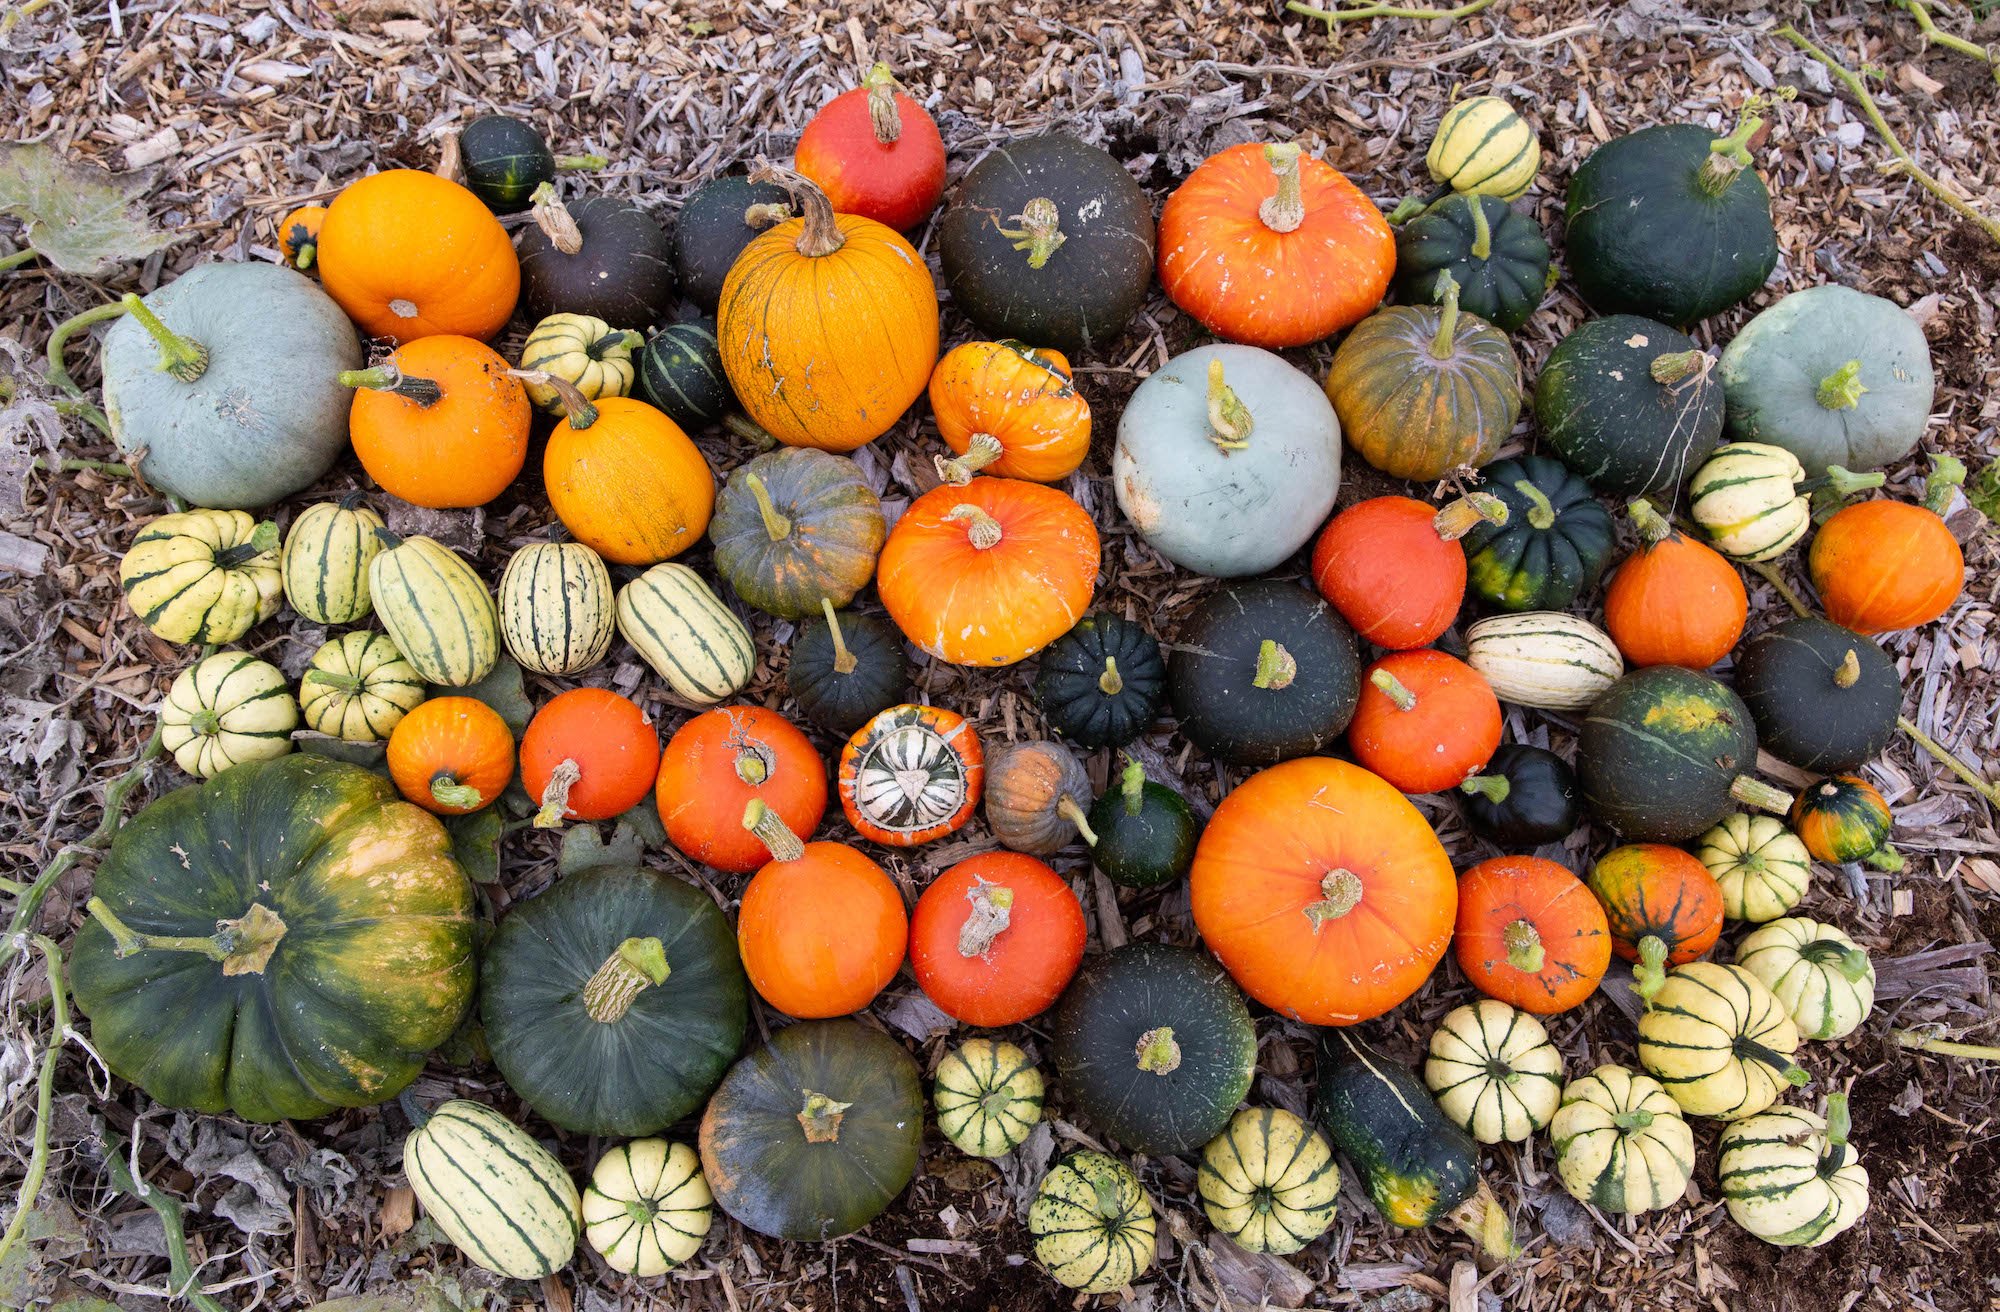
The harvested pumpkins laid out to admire!
The experiment results
We had a total of 72 fruits from the 13 different varieties we planted. They’re all fairly small, even the bigger varieties, which is probably thanks to the extended period of drought in the summer. On the plus side, this makes them much more manageable for cooking!
The smaller varieties have been more successful than the larger ones, but there is a good mix.
The pumpkins in the deeper end (with up to 300mm of mulch) grew better.
Despite the no dig plan, determined weeds did grow through in the thinner end.
As with all gardening, it’s all been a great experiment and a learning opportunity. A huge part of why gardening is so fun!
Next year, I plan to try an even thicker layer of woodchip mulch, and to add a bit more compost when I plant them out.
I’ve got plans to try some giant varieties as well. They will be even hungrier, so I’m planning to go even deeper with the mulch and add some manure as well! (With a bit of luck, we’ll have some animals on our land by then too, so this is a great sustainable way of using their waste…)
Next step, is to cook them all and try the different flavours!