How to plant bulbs

It always feels like there’s a little bit of magic at work when you’re growing plants from bulbs.
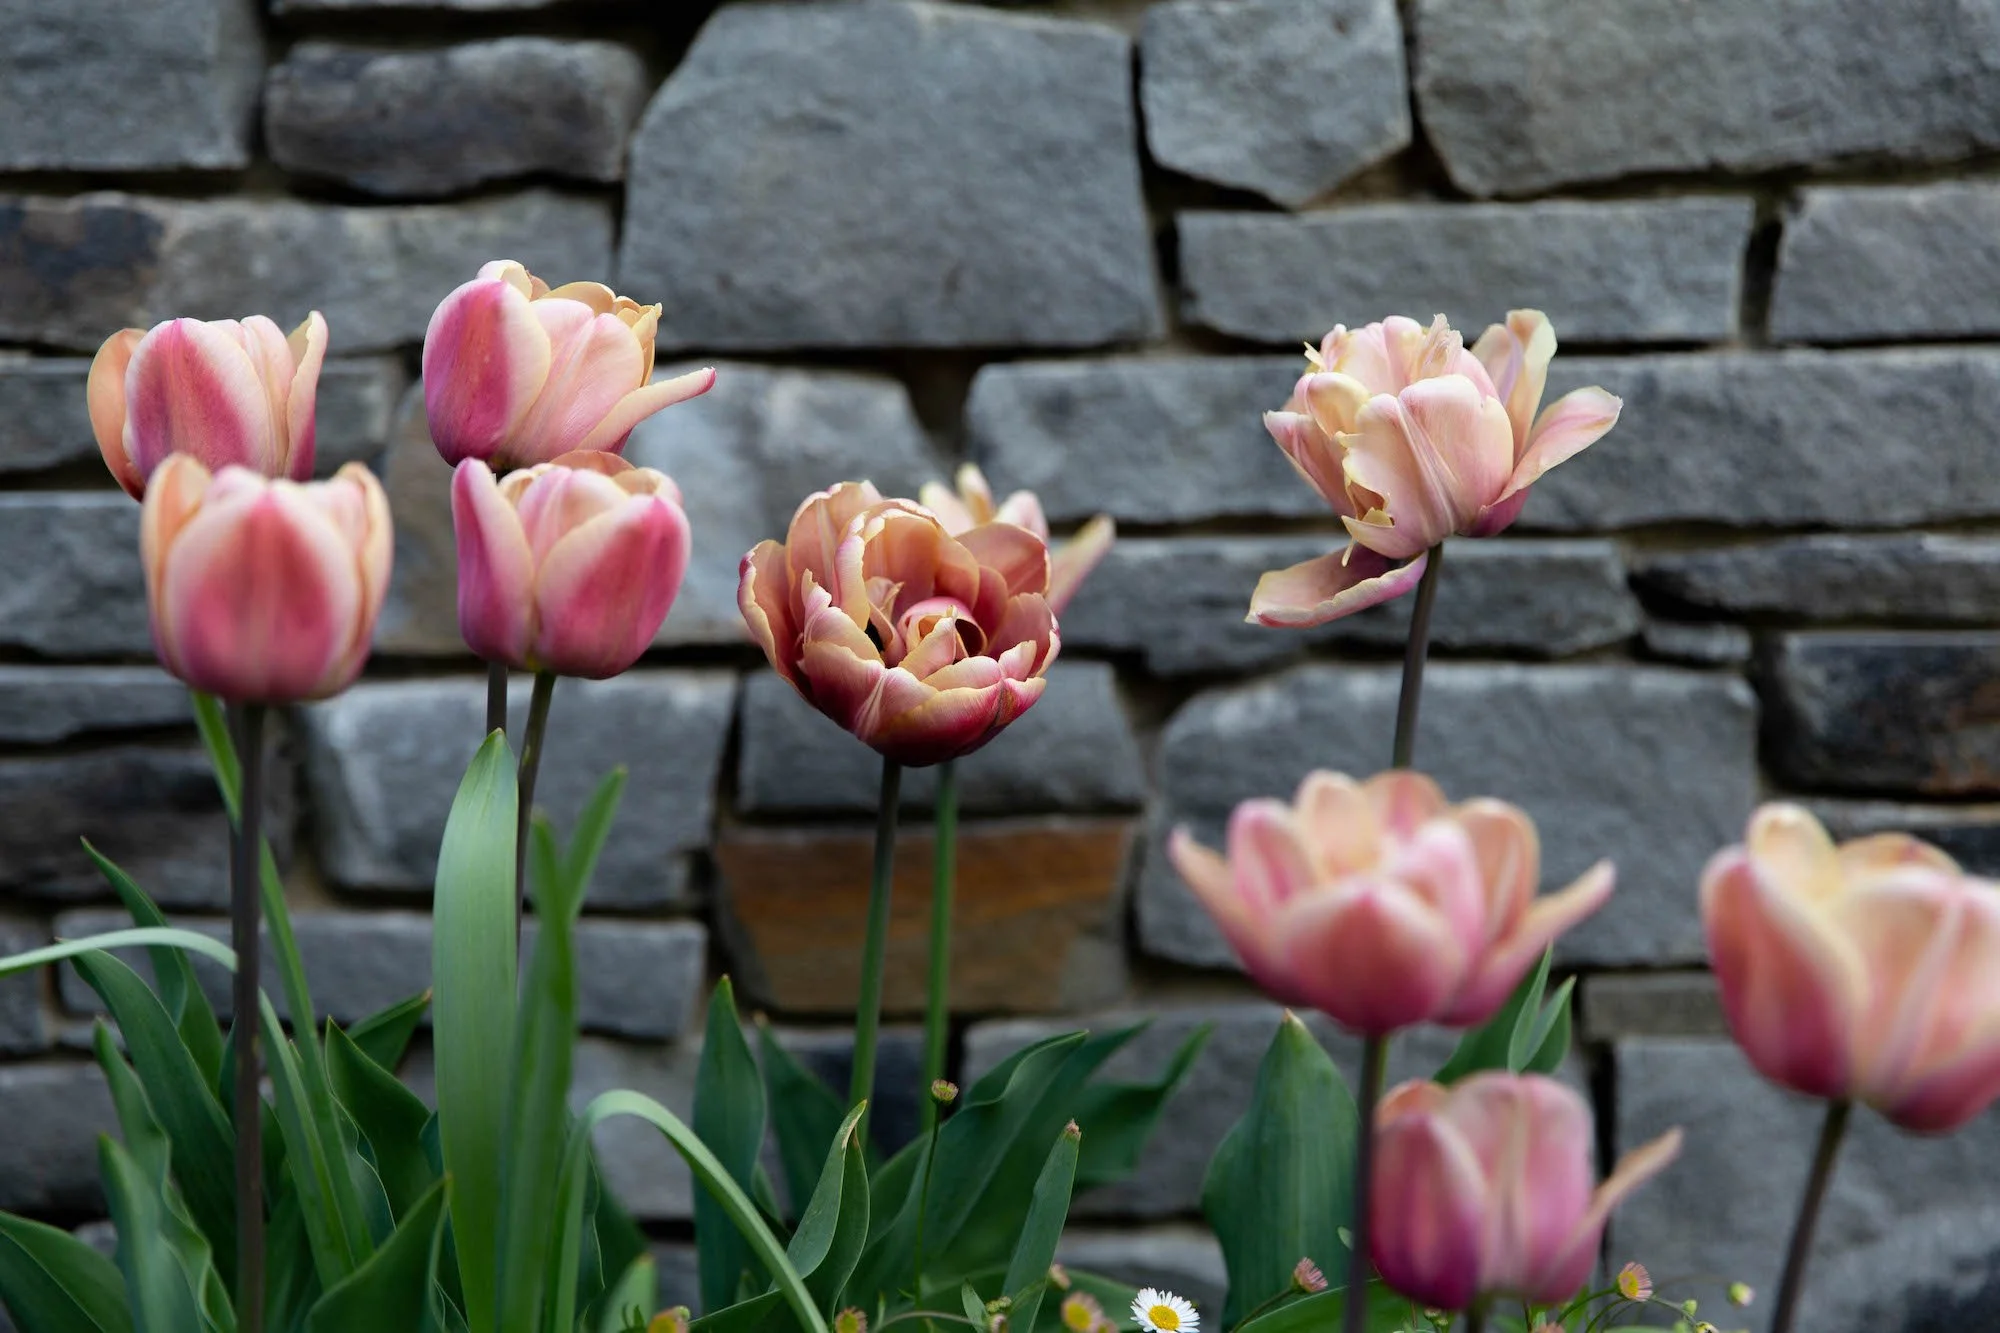
That papery brown husk looks so small and unpromising as it goes into the ground in the Autumn, and yet, less than six months later, in its place is a colourful tulip, majestic allium, or delicate fritillary.
Of course, it’s not actually magic – just the wonder of botany. A bulb is a plant’s storage organ, a way for it to hold reserves of food and energy over the Winter months while the plant is dormant, ready to use them in Spring to shoot back into growth as soon as the conditions of sunlight and temperature are favourable again.
Planting bulbs is one of the easiest and most rewarding things you can do in a garden. For a relatively small cost, and with a tiny bit of effort, you can fill your garden with stunning blooms year after year. Here’s our breakdown on everything you need to know to get started…
What time of year?
There are two main times to plant bulbs: the Autumn and the Spring. Generally speaking, the time you put the bulb into the soil is around six months before the plant flowers. So, all Spring flowering bulbs (tulips, alliums, daffodils, crocuses and so on) would be planted the Autumn before. This is the main time of year for bulb planting.
But there is a second, smaller bulb planting season in Spring, when the Autumn flowering bulbs are planted. This isn’t such a big selection, but includes plants such as autumn flowering crocus, gladioli, hesperantha and lily of the valley.
Most Autumn planted bulbs do well to go into the ground around October time, before it is too cold and wet and before the first frosts have struck. The exception to this is tulips, which are typically planted a bit later, usually in November. This is so the colder temperatures we find in November will have killed off some of the diseases that exist in the soil and to which the tulip bulbs might otherwise be susceptible.
Where to plant bulbs?
So, where to plant your bulbs? There are two main choices: in the ground, or in containers. Both have advantages and disadvantages. Planting into pots is undoubtedly easier – no need to dig up cold hard soil, no forgetting where exactly it was you planted those bulbs, and you can buy a compost mix that suits your plant. Huge displays in pots look spectacular – and because they’re raised off the ground, it can be easier to see and enjoy the flowers. Some plants, again we’re talking about tulips, can struggle to survive in the ground and may decrease in numbers over the years, whereas they tend to repeat flower more happily in pots.
On the down side, once the flowers have finished blooming, you then have an empty pot which needs to be stored somewhere until the following year. Pots also need lots more watering, as they dry out so quickly, especially in summer months. And they need to be fertilised more frequently and the compost topped up or replaced as it will eventually run out of its store of nutrients, in a way that the garden soil – which constantly has new things falling, dying and decomposing on it – doesn’t.
We usually go for a mix of both, some bulbs in the ground, and some displays in pots which can be changed throughout the year. (For more info on container growing, take a look at our guide How to grow plants in pots.)

How to plant bulbs
Depending on whether you’re planting into the ground or into pots, the spacing of the bulbs will vary slightly.
A general rule of thumb for all bulb planting is that the bulb should be covered up with soil to twice the depth that the bulb is tall. So, for example, a bulb that is 5cm tall would be buried under the ground with 10cm of soil on top of it. A bulb that is 15cm tall would be buried with 30cm of soil on top.
To allow adequate spacing between bulbs, you want to ensure that there is enough space for another bulb of the same width to fit in between each bulb you’ve planted. In pots, you can probably plant a bit closer than this, but always make sure the bulbs aren’t touching each other.
Planting in the ground
Following this rule for depth and spacing, it’s pretty simple to plant bulbs into the ground. Most bulbs look best growing in drifts and a good way to get a natural effect for this is to throw a handful on the ground and plant them where they land. If you’re just planting a few bulbs, you can dig each individual spot, push the bulb inside pointed side up, and cover with soil. If you’re planting a huge mass on bare ground, or under turf, then it’s easier to completely dig out the top layer of soil to the depth required, place the bulbs onto the bare earth, then cover with soil and re-turf if needed.
Different bulbs require different soil conditions: some would like grit at the bottom of the planting hole to make sure the soil is free draining, others might want some organic matter worked in, to keep the soil fertile and moist. Check for your specific bulb, but if you’re not sure then a bit of well-rotted organic matter dug right over your planting area, and a bit of grit at the bottom of the planting holes is going to make most bulbs pretty happy.
Planting in pots
In larger pots with larger bulbs (tulips again, alliums, daffodils and so on) it can be helpful to place a layer of crocks (broken pots) on the bottom, which helps to anchor the pot and takes up a bit of compost space and is said to improve drainage. (There’s actually a whole debate about whether or not that is true anymore, but let’s not get into that here! It’s still good to use crocks when planting bulbs as they generally don’t need to fill up the pot with their roots…)
Smaller bulbs planted in smaller pots (fritillaries, snowdrops, chionodoxa and so on) generally wouldn’t need a layer of crocks at the bottom.
After this, fill the pot about three-quarters full with a multi purpose compost. Then simply place the bulbs on top, spreading them out and being careful not to place them touching each other, and cover with the right amount of compost (twice the depth that the bulb is tall).
Water in, and continue to water well if there are dry periods.
If you really want to maxmise bang for your buck when planting bulbs in pots, then you can try out what’s known as a “bulb lasagne” – different bulbs layered up on top of each other. This could all be one type of the same plant, such as a mix of different tulip varieties, or a mixture of different bulbs. The biggest bulbs go towards the bottom, and these would typically be the later flowering ones, cover with a good layer of compost, then place the medium sized bulbs, another layer of compost, and the smallest bulbs at the top, covered with the required depth. The smallest bulbs will emerge first, followed by the next ones, and so on, so you have an impressive successional flowering display, all from one pot. (Remember, if you try this, that all of those plants will be using nutrients out of the soil at a really fast rate, so you’ll need to fertilise this pot especially well to keep the plants well fed.)
What tools to use
Planting bulbs into the ground – especially if you’re doing quite a few at a time and the ground is hard – can be quite back breaking. There are a number of special bulb planting implements available that are, theoretically at least, easier to use than a trowel.
Bulb planters come in different sizes and different heights, but essentially all follow the same principle: a circle of metal is inserted into the soil and pulls away the “plug” – into which you drop the bulb and then put the soil back on top.
These work really well on light soils, but we’ve found them tricky to use on heavy soils, where they can be quite hard to push in in the first place, and even harder to pull out. Long handled versions are easier to use, as you can press your foot down on top to push them into the soil.
If you’re using a trowel, then one with a pointed end can be much easier to push in. Look for what is often called a “planting trowel” that will cut through even a heavier soil with ease.
Another option is a hori hori, or Japanese gardening knife, which has a very sharp end and can push down into the soil with ease. Wiggle about a bit at the bottom to make space for the bulb, and slip it down the side. These are great for small and medium sized bulbs and take a lot of the effort out. They’re multi-functional as well, so you can also use them for weeding, lifting plants and all sorts of other jobs.
We’ve got more info on all of these tools, along with details of some of our favourite brands, in our guide Essential gardening tools.
Possible problems
There is one big problem that bulbs in pots and in the ground both face: squirrels.
Because a bulb stores nutrients for a plant, it makes an especially tasty treat for a squirrel. They tend to be keen on certain bulbs (tulips in particular) and can quickly remove your freshly planted bulbs out of the soil or out of pots in no time at all.
To prevent squirrels taking the bulbs for their lunch, there are a few options. In pots, tack down a square of chicken wire over the top once you’ve finished planting (or just fold it over the top of the pot). Leave in place until the first green shoots emerge, at which point you can remove it.
When you’re planting bulbs in the ground, if there is a clear area of planting, you can also just cover with chicken wire and weight it down with mulch or dig the edges slightly into the soil. If this isn’t possible, because you’re planting among existing plants, then a layer of sharp gravel might be a sufficient deterrent. Always take care to clear away any papery husks that have fallen during planting, so the squirrels aren’t alerted to the new feast below ground…
Where to buy bulbs
Browsing a bulb catalogue in Autumn and planning for the Spring ahead is one of life’s great joys. There are a huge range of amazing companies that sell bulbs by mail order.
We’ve put together a round up of some of our top online suppliers here: eight favourite bulb suppliers.


