How to condition cut flowers

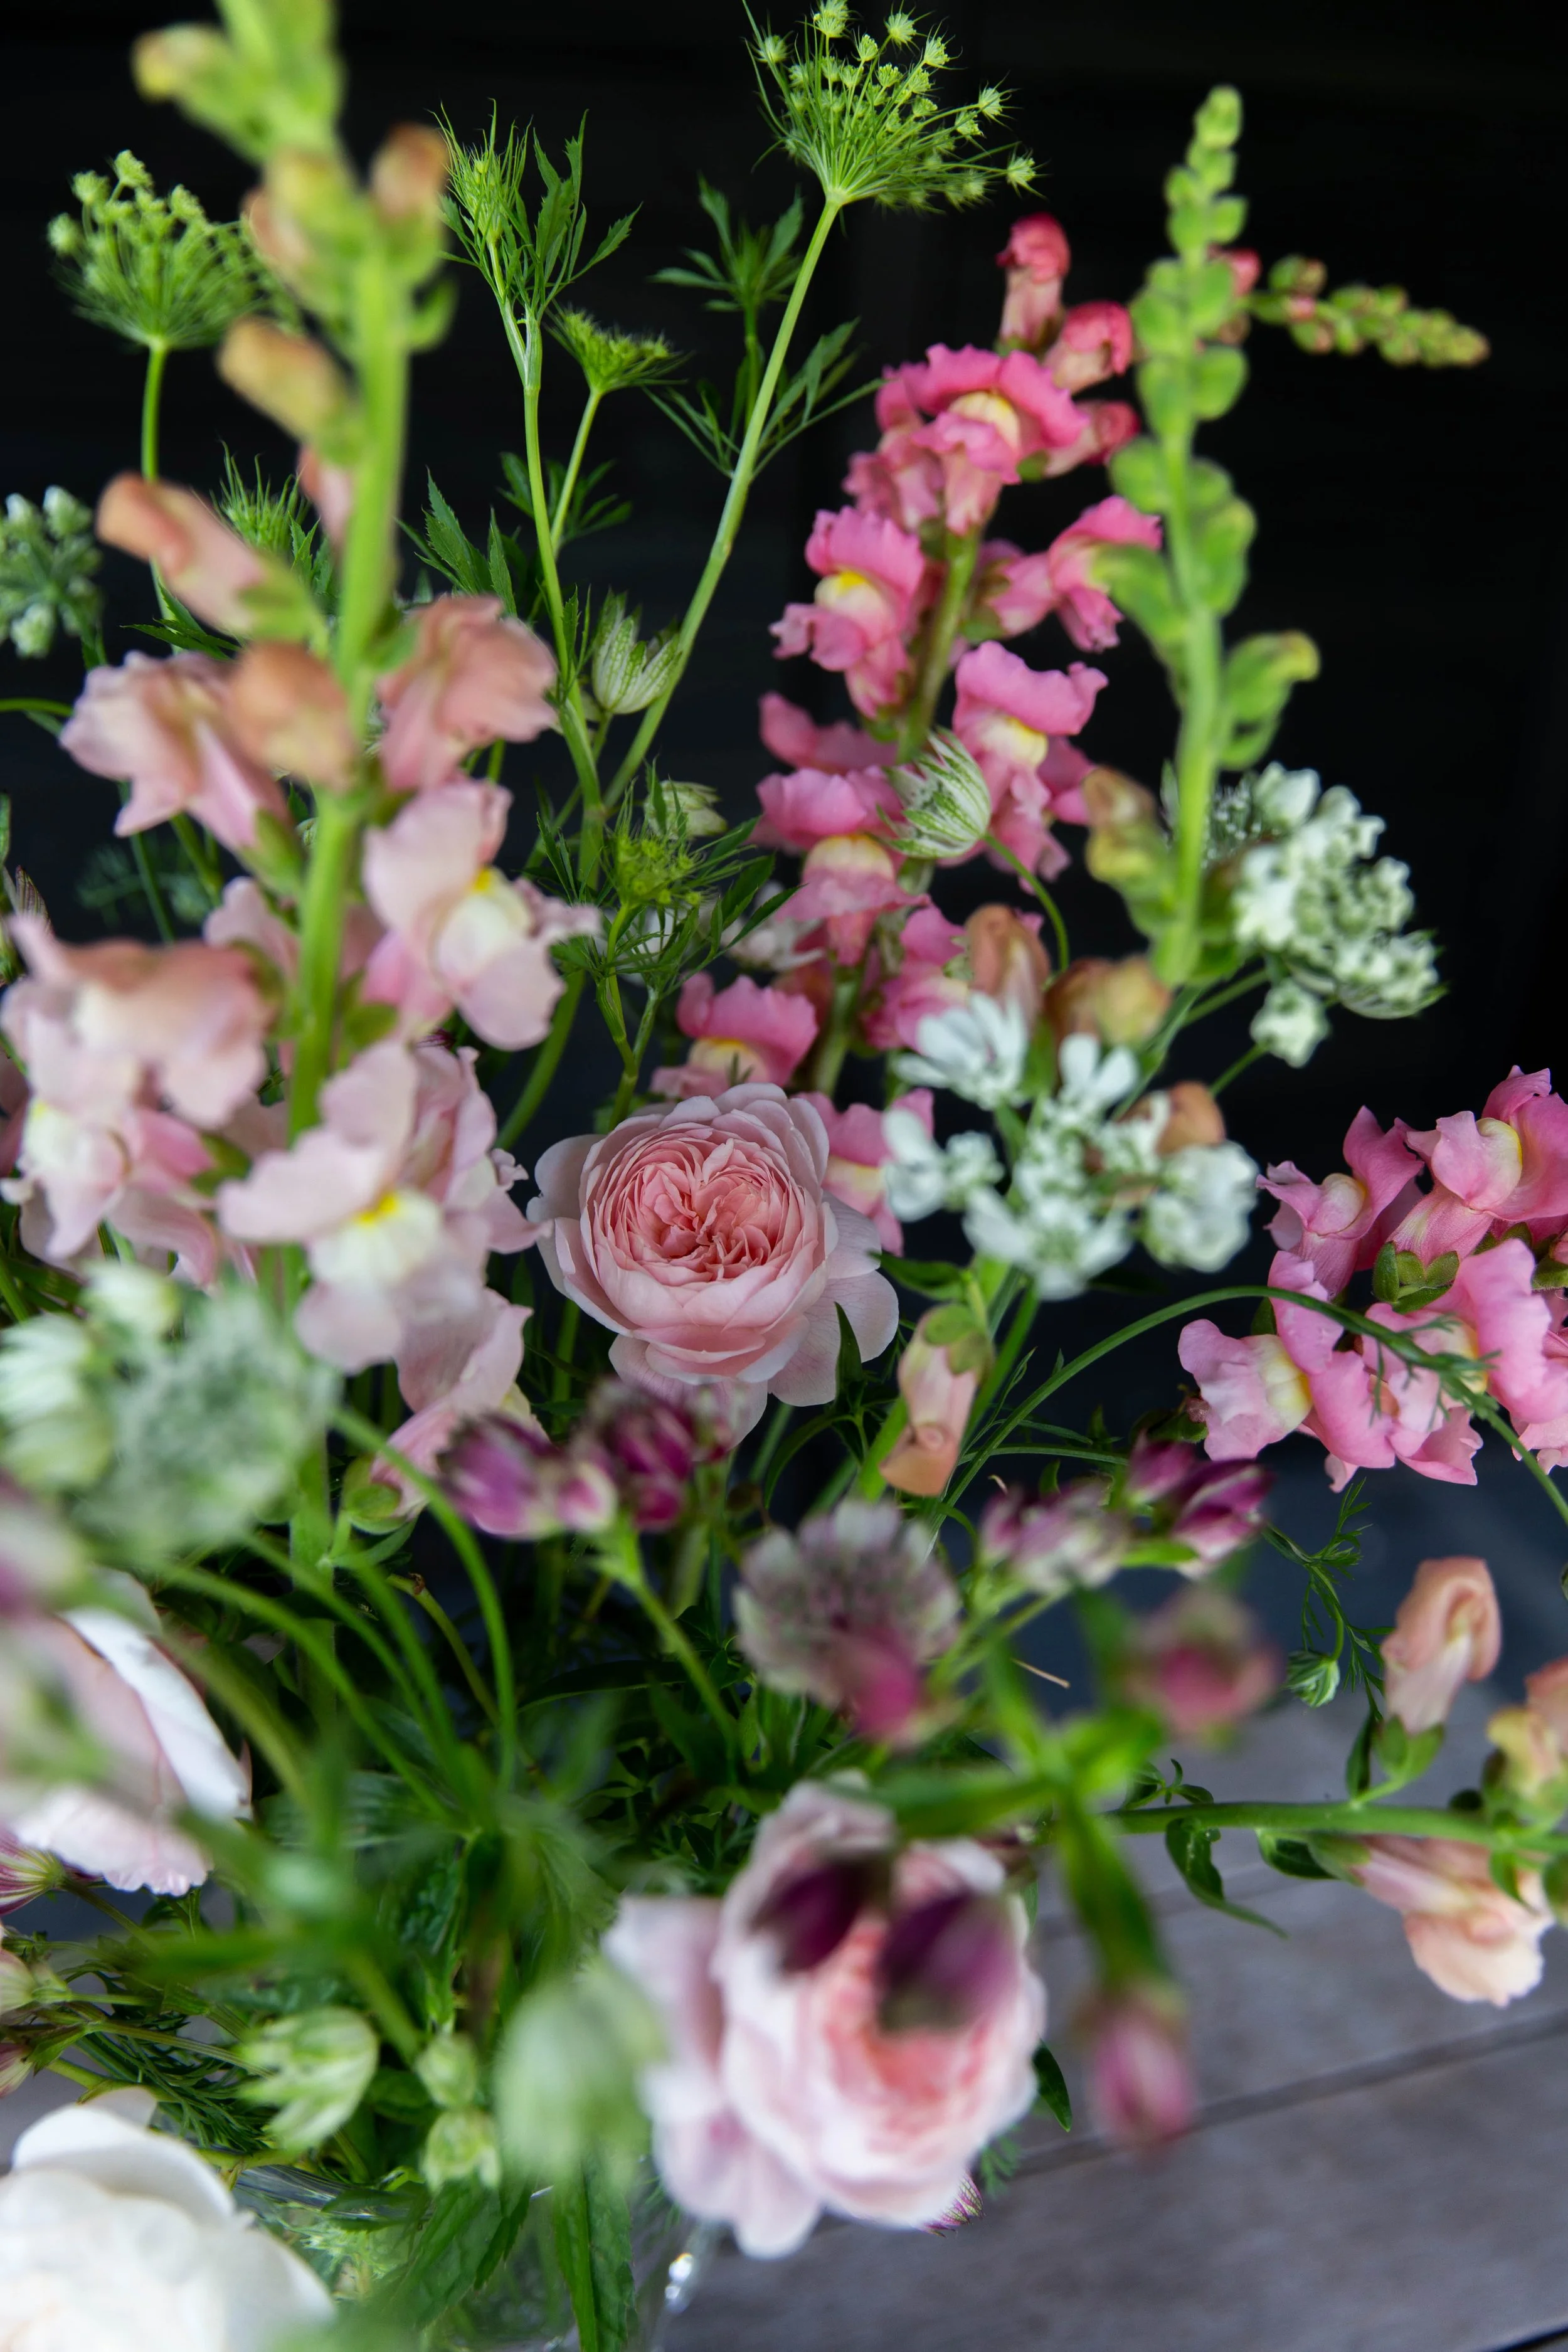
There are fewer things more satisfying as a gardener than cutting armfuls of blooms from the garden and bringing them inside the house to fill vases throughout the year.
Growing your own cut flowers has a huge range of benefits. For a start, it’s so much cheaper than buying bouquets from the florist. Packets of flower seeds are especially cheap, but even a herbaceous perennial usually costs less than the price of a single bouquet. And of course, it’s far more environmentally friendly and sustainable too. You’ve incurred no air miles for flying in flowers that have been grown elsewhere, in fact, usually no miles at all, just a few steps from the garden to the back door. Perhaps best of all, is the enjoyment of watching the progress of the plant from seed or dormancy all the way to blooming.
But, for all these wonders, there are a couple of steps that florists would have done for you, if you’ve bought bouquets from shops, that you will now need to do yourself in order to get the most from your blooms.
If you cut a flower from the garden and bring it straight inside the house, it usually immediately wilts and looks pretty unhappy. This is because of the sudden drastic change in temperature and air quality, after being brutally separated from its parent.
In order to prevent the flower wilting, and to make it last longer in the vase, flowers should be “conditioned” after being cut from the garden, and there are a few different ways of doing this.
Here are our tips to help you condition your flowers and to get the best from the blooms in your garden once they’re in a vase…
Cutting the flowers
Aim to cut the flowers in the morning, before the plants have been exposed to too much sunshine and had a chance to lose water. Make sure the stems aren’t wilting and the flower looks in good condition. Take a bucket of water with you and place each stem straight into it after cutting. One of the most common reasons for flowers to wilt is an “air lock” in the stem – when a bubble of air enters the stem, blocking the passage afterwards for any water. Putting the freshly cut stem straight into water helps to prevent this happening.

Conditioning
Once you have gathered all the flowers you want, it’s actually very straightforward to condition them and only takes a few steps, plus a bit of time. Every florist has their own preferred method, but this is a basic overview that should work for most flowers:
Step one:
Add warm water to a clean bucket, about ¼ of the way to the top. Make sure that the bucket is perfectly clean, so that there is no chance for bacteria to grow. (Warm water is taken up more quickly by the flowers stems, so the conditioning takes place a little faster.)
Step two:
Next prepare your flowers. Remove all the leaves along the bottom section of the stem. You especially need to make sure that no leaves will be sitting below the water line or they will start to rot and any bacteria in the water can be taken up through the flower’s stem.
Step three:
Cut the ends of the stems at a 45 degree angle, as this maximises the amount of water that can enter the stem. Use really sharp secateurs or florist’s snips to avoid crushing the stems.
Step four:
Place all of the stems in the container of warm water and leave in a cool, shaded spot outside for at least 2-3 hours, ideally overnight. This allows the flowers to take up plenty of water before being brought inside a much warmer house, so they’re better prepared to face the heat!
Step five:
After this conditioning you can arrange the stems in a vase and bring them inside.

Exceptions / special treatment
As with almost everything in gardening, there are a few exceptions to this general overview, so if you’re using flowers from any of the following, they will need slightly different conditions:
Flowers that grow from bulbs
For example, daffodils, hyacinths, muscari
Warm water causes flowers from bulbs to open more quickly, so unless you want to force them to open, use cold to tepid water instead.
Add in special “bulb flower food” to the bucket, which will help to keep them in the best condition.
Additionally, daffodils can leak poisonous sap, so firstly take care when handling. It is best to condition daffodils in their own bucket, rather than mixing them with other flowers, as this sap can damage any other plants in the same bucket.
Flowers on woody stems
For example, roses, mimosa or foliage branches such as eucalyptus
Cut the stems at a sharp angle, and also split the ends for a length of approximately 1cm to increase the area available for water uptake.
Add cut flower food to the bucket, at the rate suggested on the packet.
Soft stemmed flowers
For example, freesias, hellebores, anemones
Flowers that grow on plants with especially soft stems are more prone to wilting than others. You can usually spot these as the flowers will droop downwards, pointing towards the ground rather than upwards to the sky. (The hellebore is a classic example.)
In order to give the stems additional strength, immerse them right up to their necks in water while they are being conditioned.
Hellebores also benefit from boiling water treatment. Fill the bottom of a jug with boiling water and, after cutting the stem, place the ends in the water for about a minute. Then put the stems into the bucket as before. This forces any air bubbles out of the water and allows them to better take up water.
Other flowers that can last for longer if they are first given a searing treatment in boiling water are: dahlias, hydrangeas, California poppies and euphorbia.
Tulips
Tulips have a tendency to flop over while they’re being conditioned. To keep the stems straight, you can wrap them in newspaper in the bucket, though we always quite enjoy a wonky tulip stem, so tend to leave ours as they and embrace their wayward, floppy nature!
Tulips continue to grow even after they’ve been cut and will always grow towards the light, so if you’d like to keep the stems straightish, then turn the vase every so often, as you would do a houseplant.
Related articles:

How to plant bulbs

How to deadhead flowers

How to grow edible flowers
